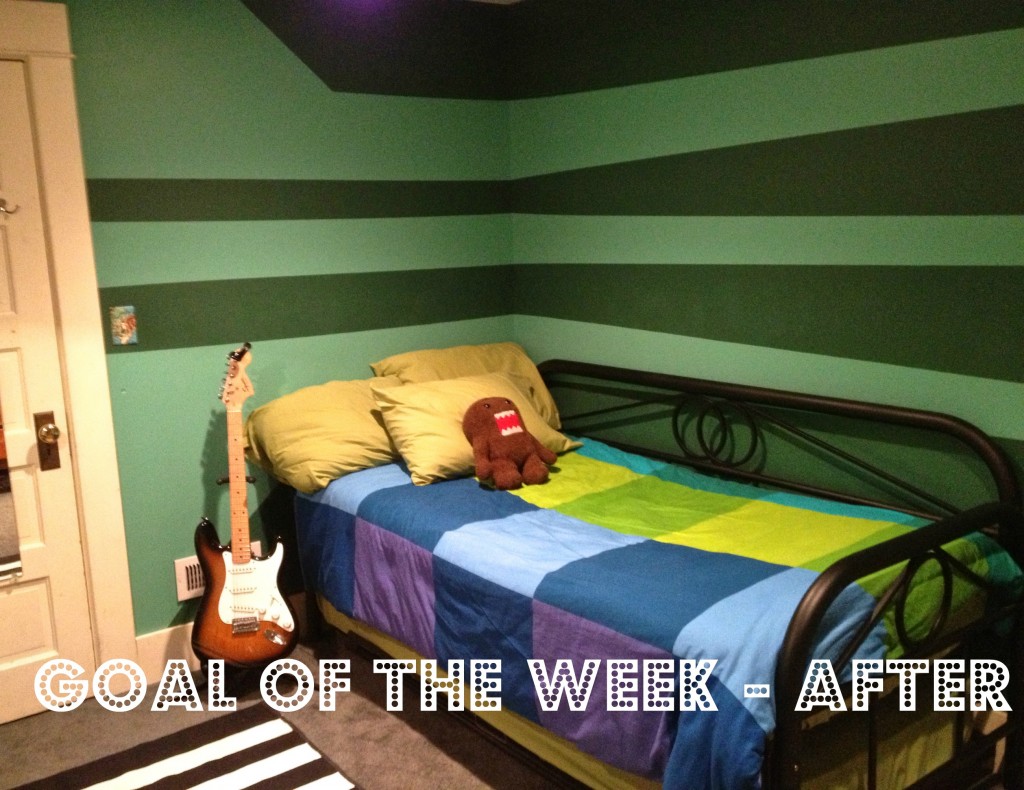
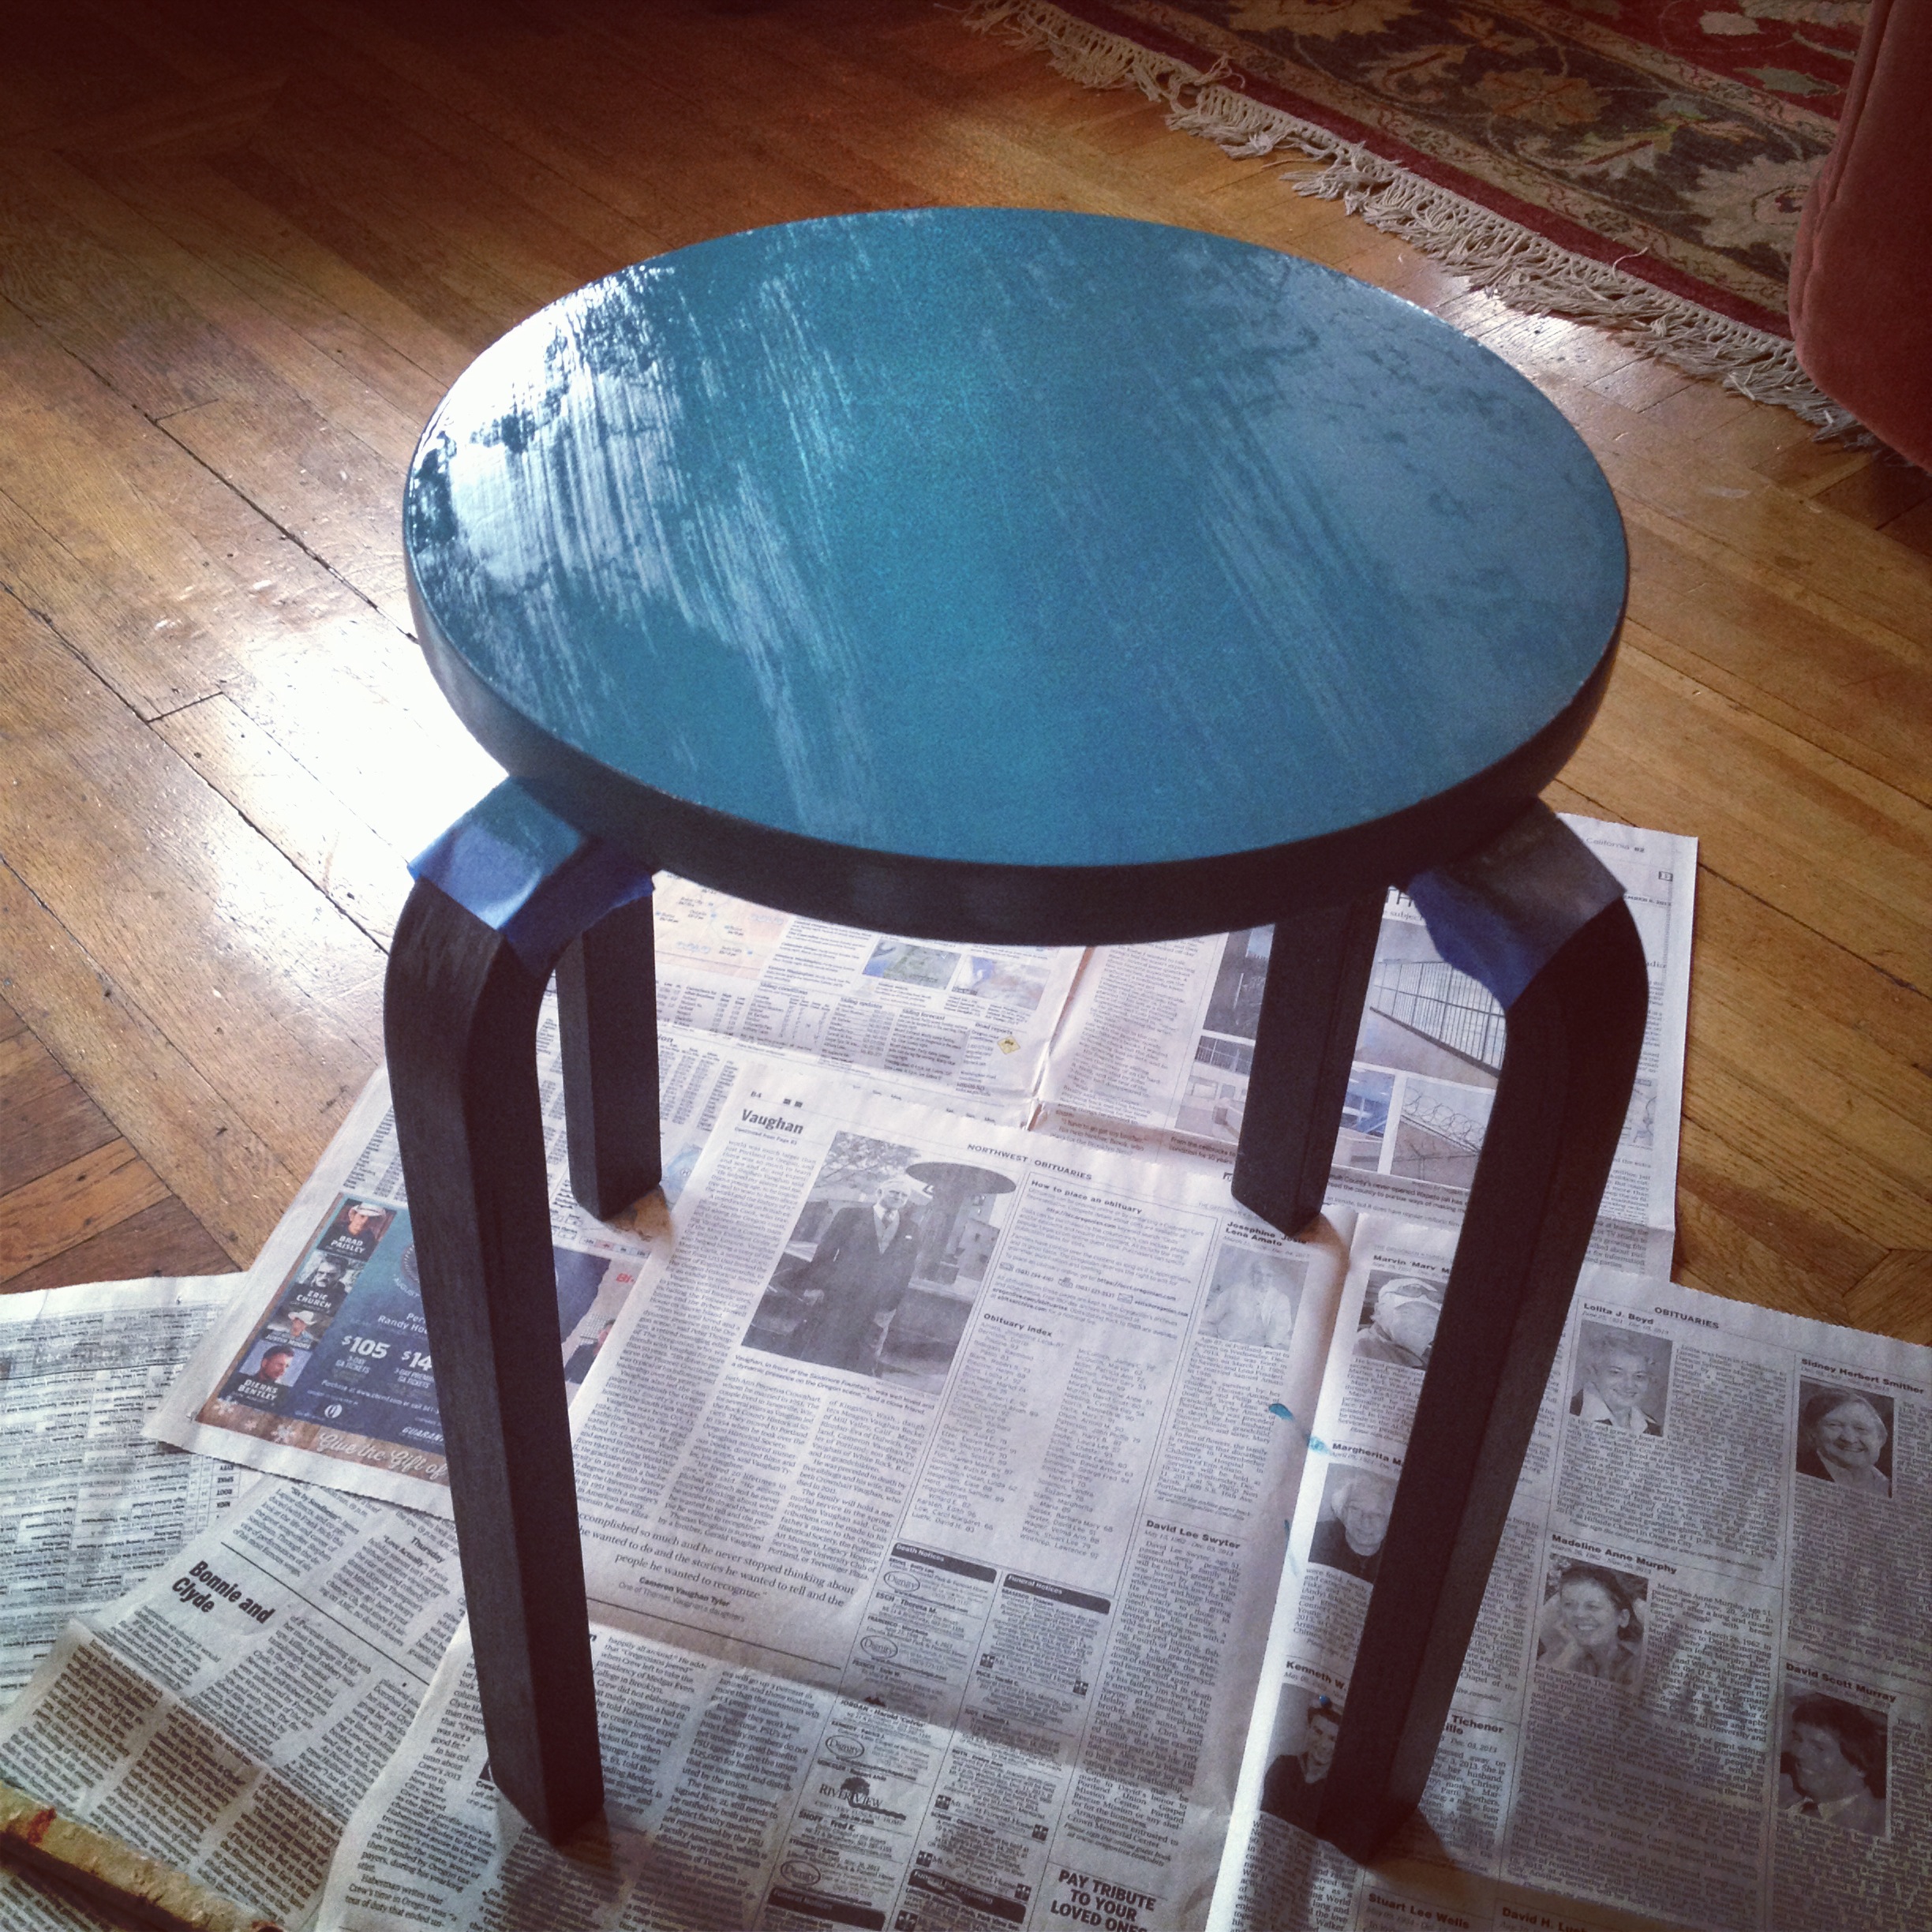
My younger son’s room is small, and the options for furniture placement are pretty much set in stone. And because my son’s bed is right next to the heat register and very close to the closet, he’s never been able to have a proper bedside table. I’d been noticing that his iPod sits on the ground while charging at night, (as well as various frogs, snails and puppy dog tails.) so I decided to create a bedside table from a $3 thrifted stool. The top was water stained, but that made no difference, as I planned to paint it anyway.
See how there’s hardly any room?
My first idea was to incorporate some of my son’s artwork onto the top surface, but I was afraid that would end up looking too kindergarten-ish. (My son is fifteen years old.) Instead I got the idea to paint the top in an argyle pattern based on a Portland Timbers soccer scarf. My freehand artistic skills are damned awful, but I can measure and use painter’s tape like Leonardo Da-Freaking-Vinci, so a plan was put into place.

Luckily, I had a coupon for a free paint sample from Lowe’s, so this step was free! I decided to keep the legs black, so I carefully placed painter’s tape over the legs, and then did two light layers for a nice even coat of paint. I also bought a small bottle of lime green paint and a white Pen-Touch pen from our locally owned art supply store, which brought the total cost of this project to $8.
I then got to work planning out the argyle pattern. As much as I tried to figure out an alternate method, I came to the conclusion that I would need to do this project in multiple steps that would require time consuming drying periods. This was okay, as I wasn’t doing this stool as a last minute project.
You will note that I always cut my pricey painter’s tape in half lengthwise so I can use less of it. I just make sure to be very deliberate about which side is the straight edge side. (I also reuse the painter’s tape as much as possible, always using my fingernail to press it down as tightly as possible for a nice crisp line.)
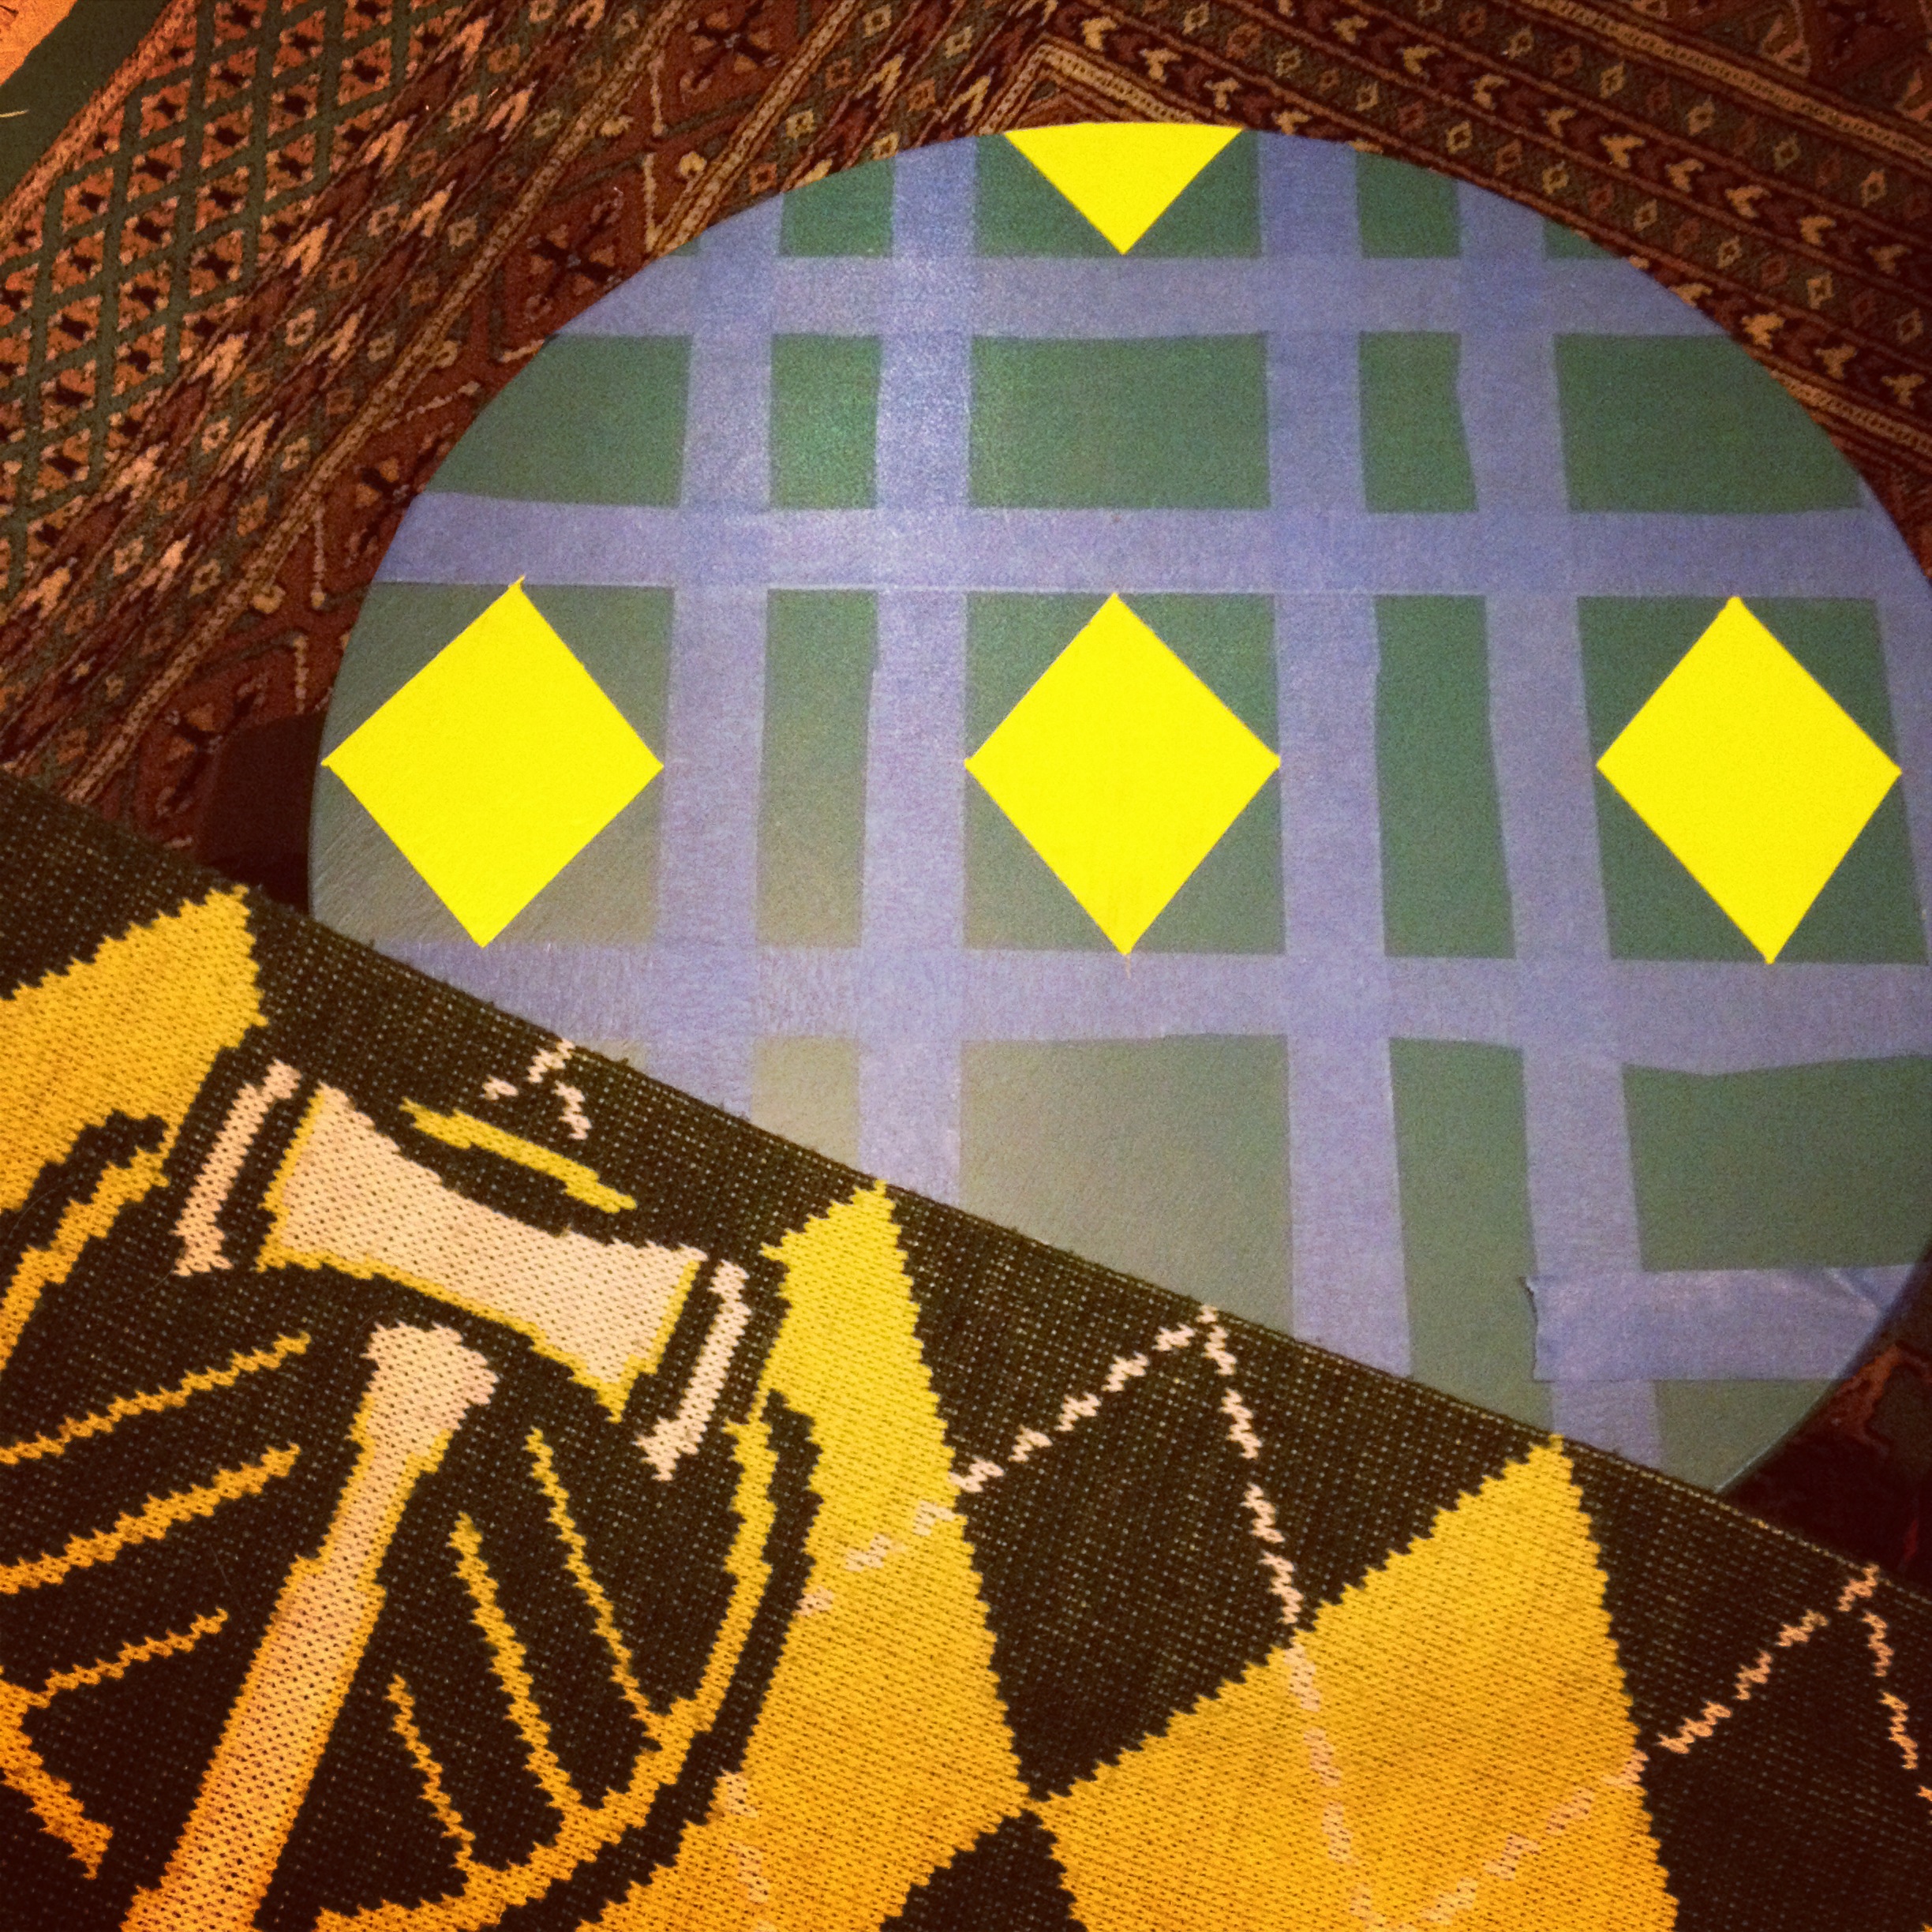
Here’s the stool, all ready for a fresh session of diamond painting. (BTW, I would estimate that 95% of this project was the measuring and careful placing of the tape, with a mere 5% spent on the painting.)

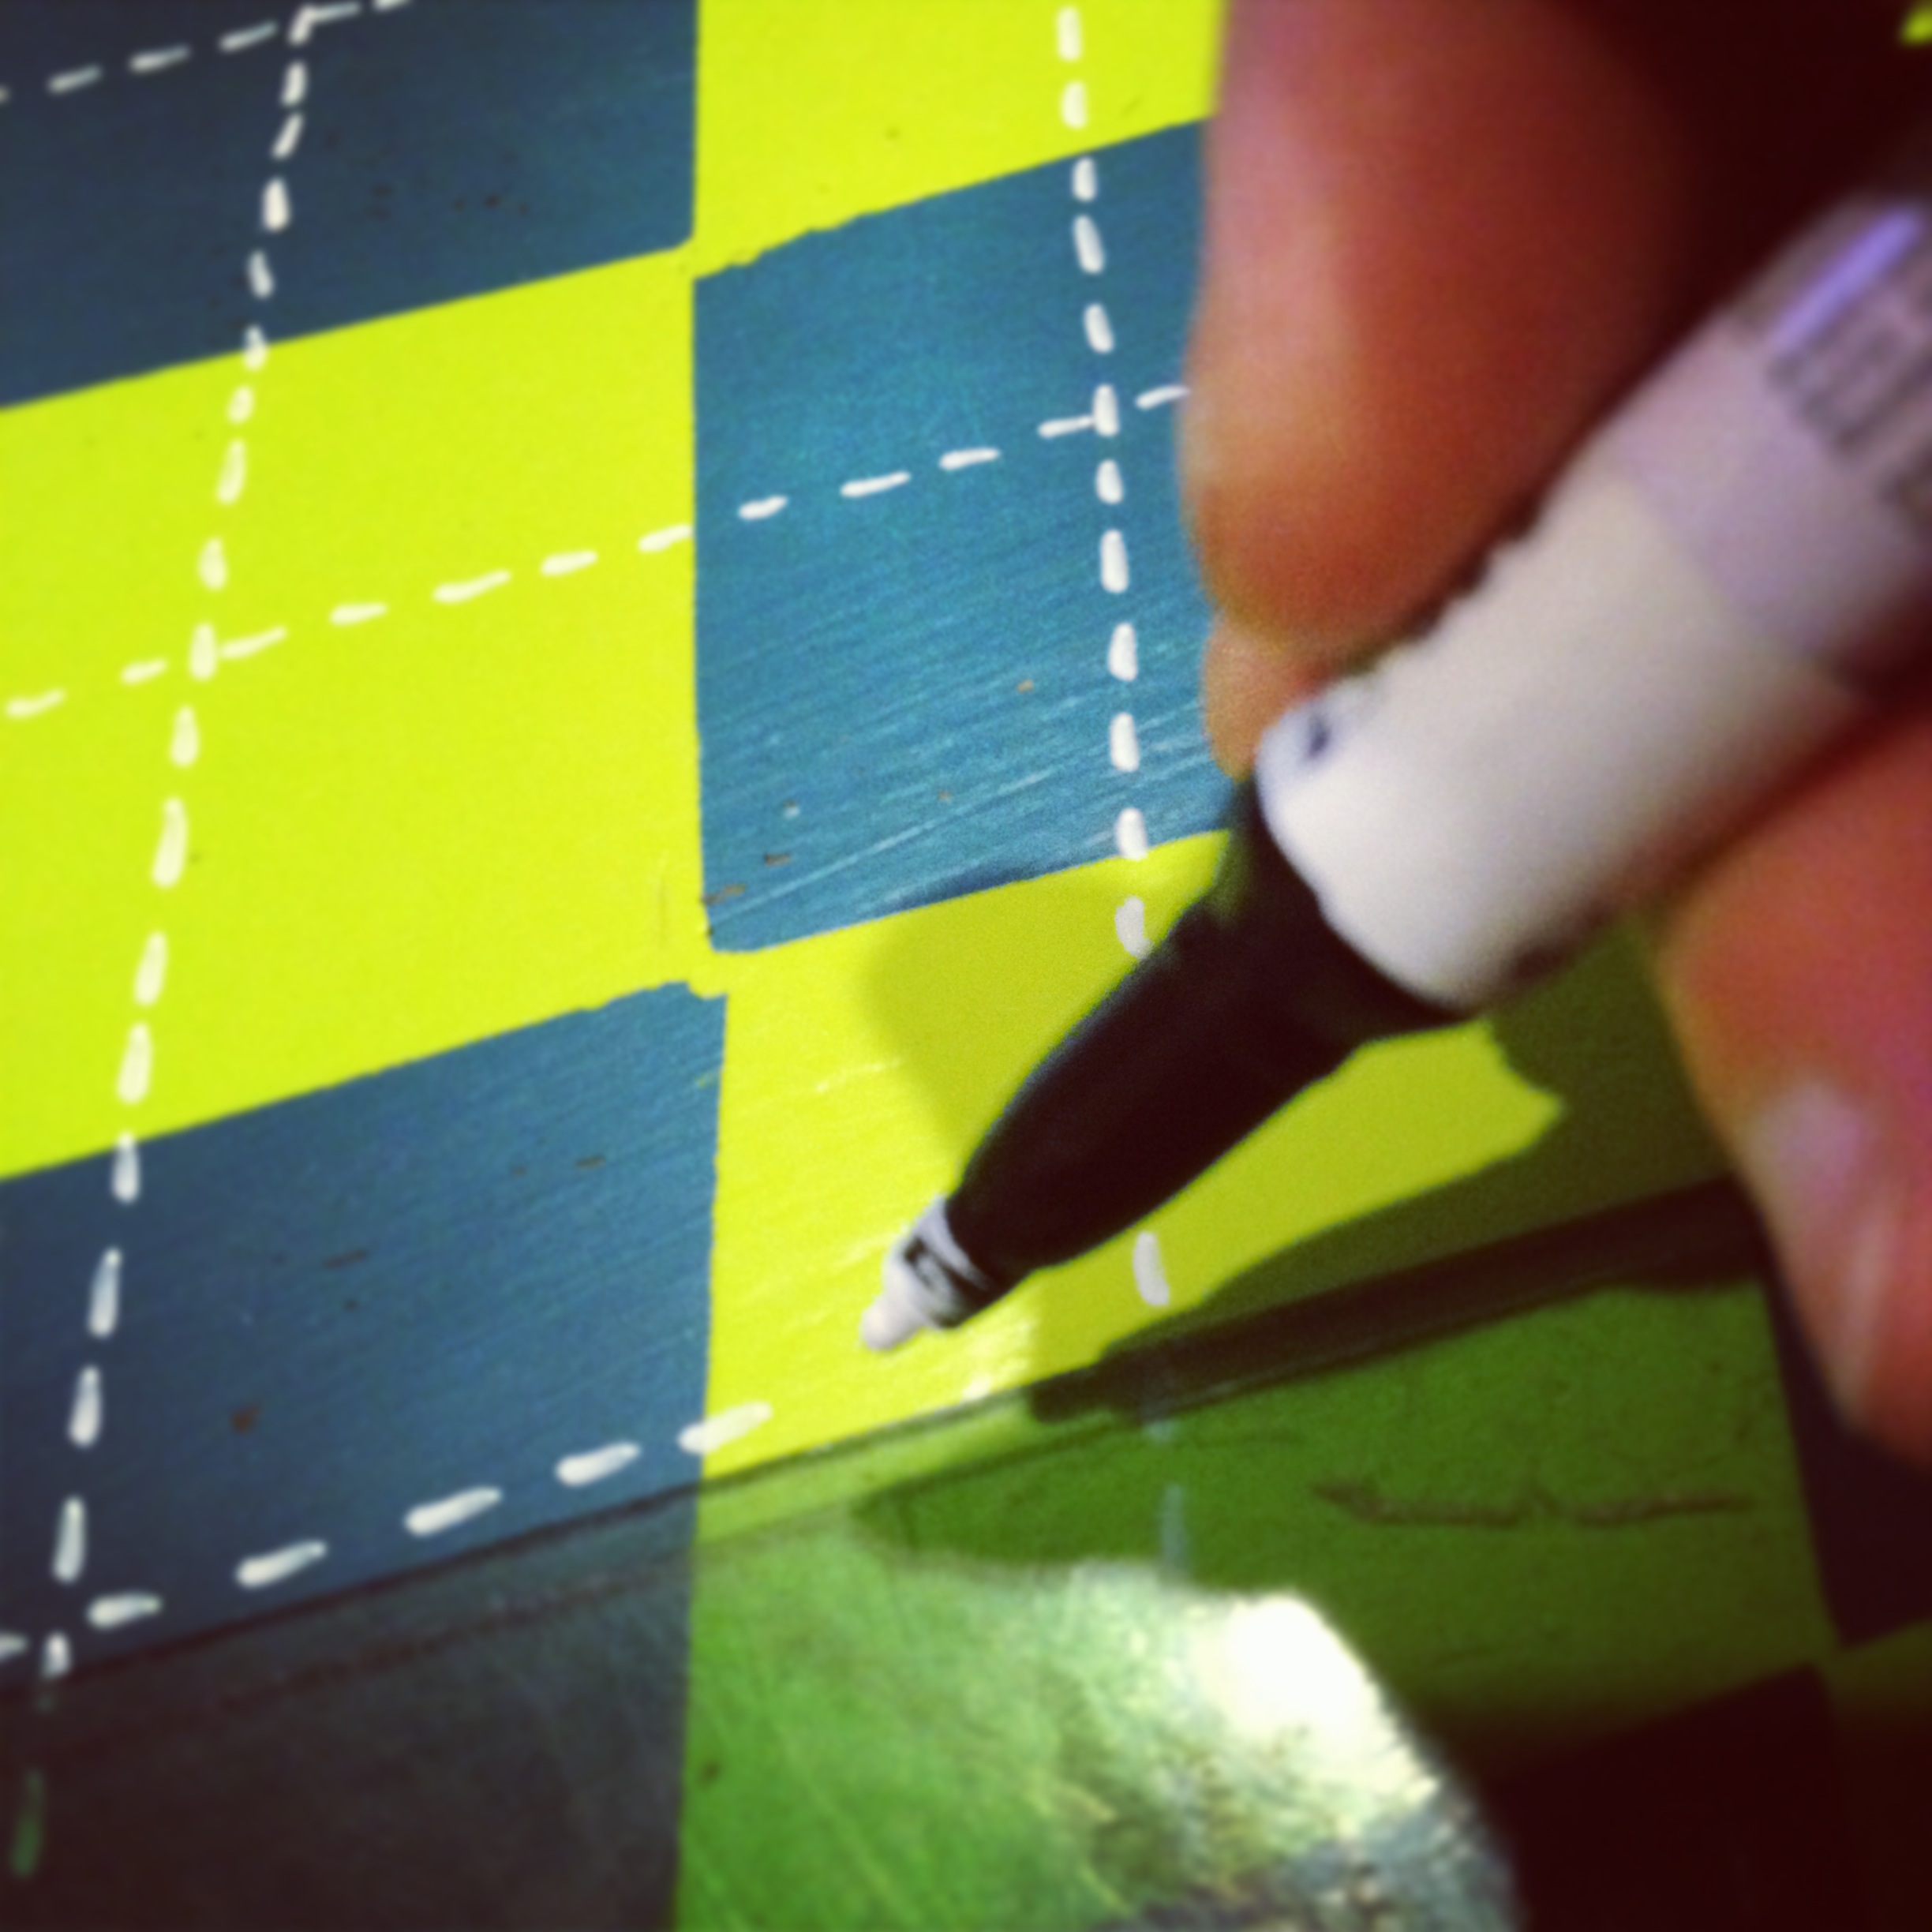
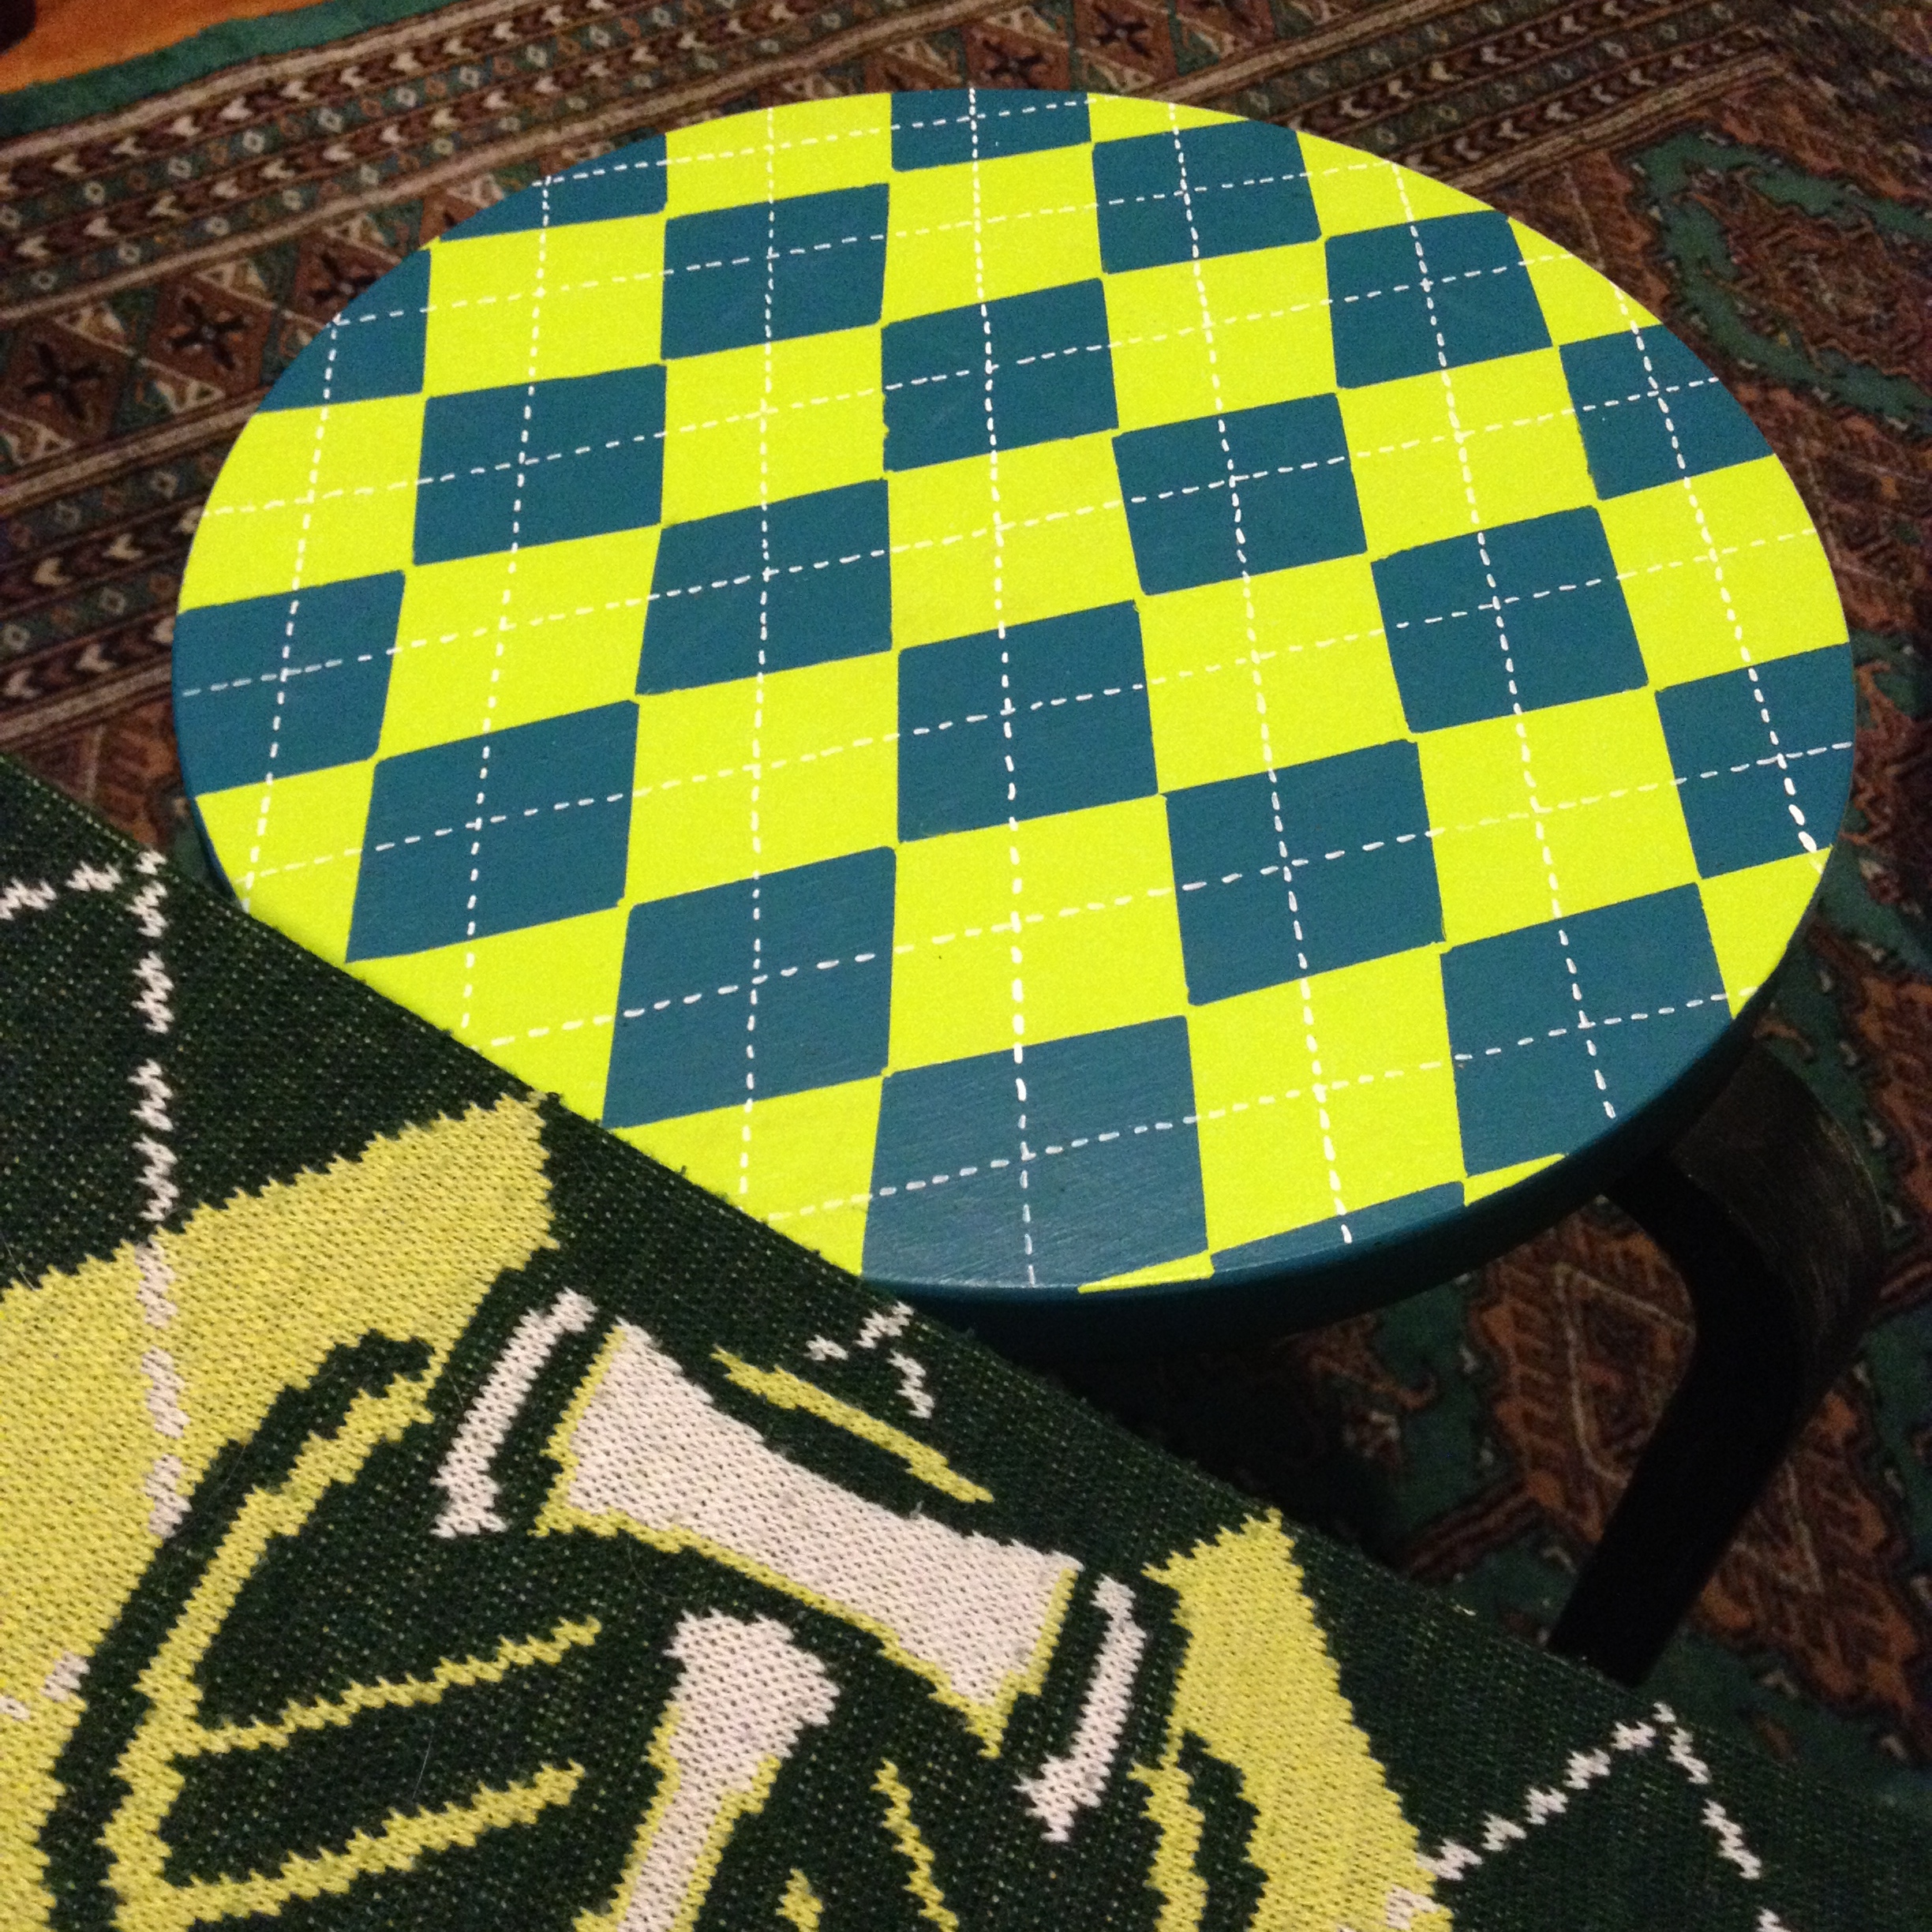
And here’s what it looks like when I paint over the tape.

When all the diamonds were completed, I took my pen and carefully drew on the stitches, using a clear ruler to guide the lines. This last step made all the difference, and helped the project go from “Wow, those diamonds look almost straight!” to “Wow, that looks fantastic!”
See?!
I was so proud of this project that I texted the above picture to my sister. Unfortunately, my son was using my phone to talk and text with his cousin, and sadly saw the photo and sentence about how the stool was for him.
Which meant that he knew to sit on the fully wrapped gift on Christmas morning. (I used a flat sheet tied with a ribbon for zero waste gift wrap.) Sorry about the blurry photo.

I like that this project plays to his current obsessive interest with The Portland Timbers, but is also a classic pattern that doesn’t scream SPORTS LOGO! Hopefully this way, the style will have some longevity and hold his interest for years to come.
Did my son like his gift?
Abso-freaking-lutely! He sat on it all Christmas morning, carrying it from room to room as seating, and then independently set it up in his room as a bedside table. He’s a die-hard Timbers fan, (Remember his wall of soccer scarves and the wall stripes?) so this gift was a slam dunk Beckham/Messi/Ronaldo-worthy goal!

Katy Wolk-Stanley


{ 12 comments… read them below or add one }
Fantastic!! Great color combos and pattern repetition.
Thank you! As you can tell, I’m super pleased with how it turned out! 😀
Katy
It looks great! And so nice when your handiwork comes out so well and is so appreciated. You can tell he loves it!
It looks wonderful! Our kids are so similar 🙂 Zac would have done the same thing. It cracks me up that he saw the photo early. Does he pepper you with questions about presents like Zac does us?
He doesn’t pepper us with questions, but we used to have to hide the gifts really well when he was little.
Katy
Very, very nice and those “stitches” make all the difference!
Great project! Did you polyurethane (sp?)the top to protect it?
I haven’t yet. I thought I had a can of spray polyurethane, but apparently I used it up with a previous project. I’ll be sure to put on a protective layer soon though!
Katy
Yay, so excited to finally see! Awesome redo; good score on the stool/table and the free and cheap paint, but extra points for the creativity. Wow!
You’re so good at painting projects!
It’s so sweet that your son appreciates it so much. At first I was wondering if a teenage boy would care about furniture.
Did you stop buying new paint and stuff during your first year of the compact?
I agree that not every fifteen-year-old boy would give a rip about furniture, but this particular guy appreciates that kind of thing. Plus, it’s functional, which makes all the difference.
Katy
I am once again deeply impressed by your creative-fu. And I love that your (OMG) 15 year old son is loving on it so much. What a joyful payoff for all your hard work. Well done, mama.
{ 4 trackbacks }