How to Make a Union Jack Table
I may have already done the big reveal of my Union Jack Table, but I wanted to share the steps I went through to go from messed up curbside find to glorious finished project. (Can you tell that I'm quite pleased with the result?)
I'll start you off with a nice after shot, as really, I can't get enough of this table.
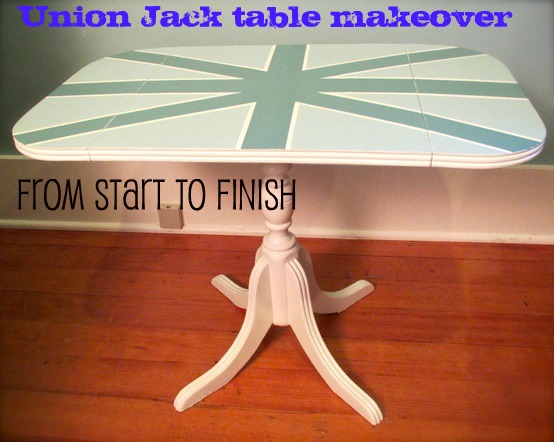
Step One:
Find a table that is both free and rectangular. A drop leaf function is a plus.
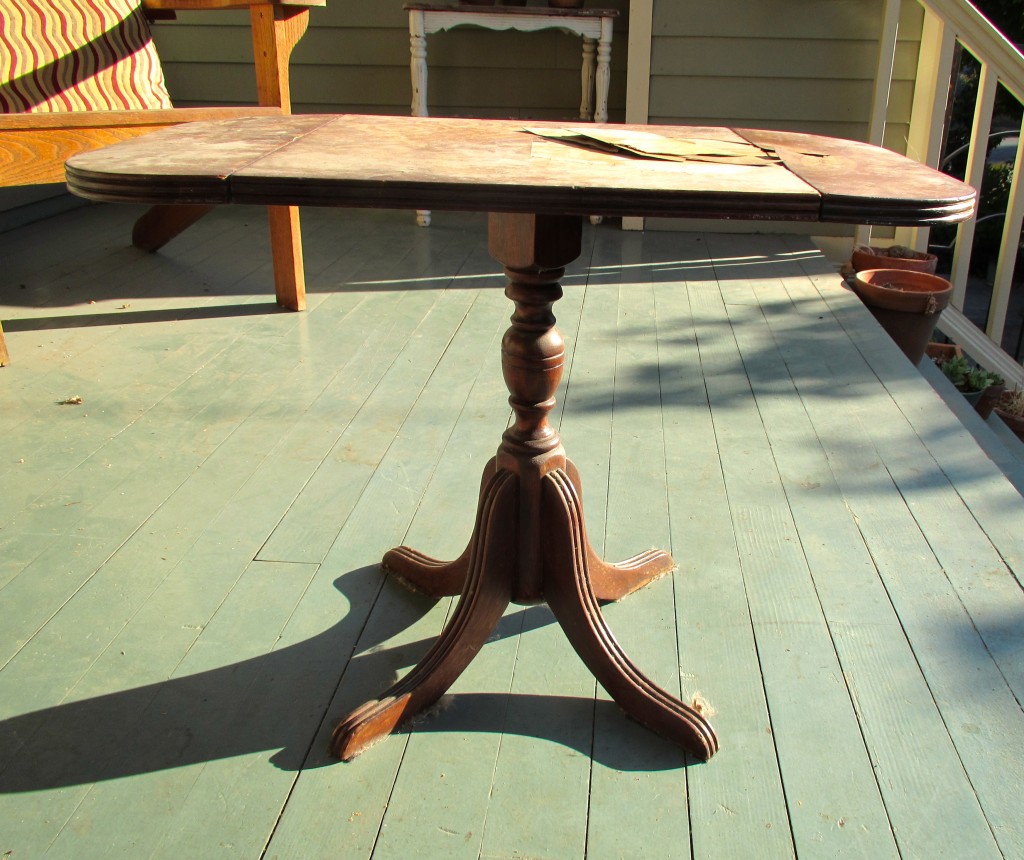
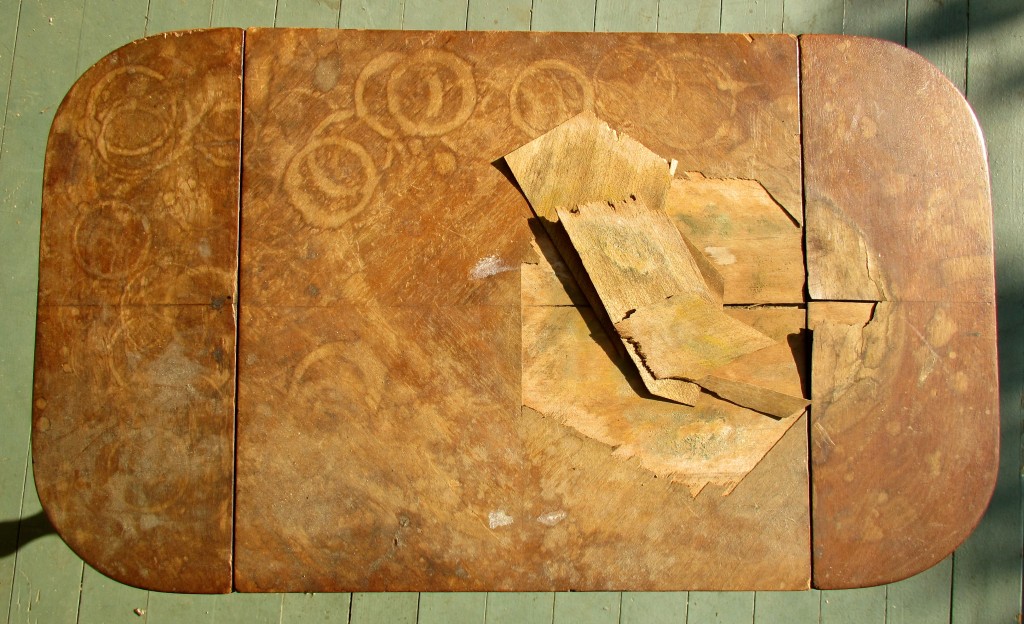
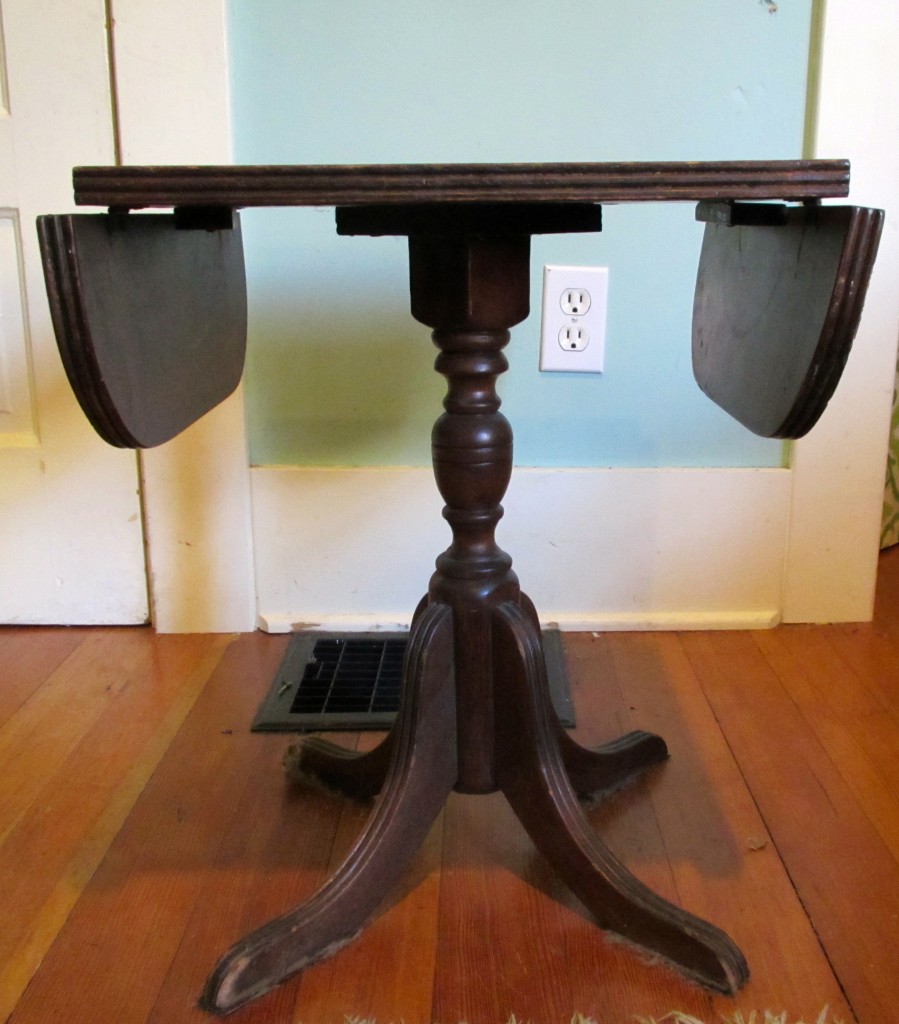
Step Two:
Take a scrappy wet towel and an iron to steam the veneer to the point where it can be scraped off. This will mess up your iron, so use a projects only iron.
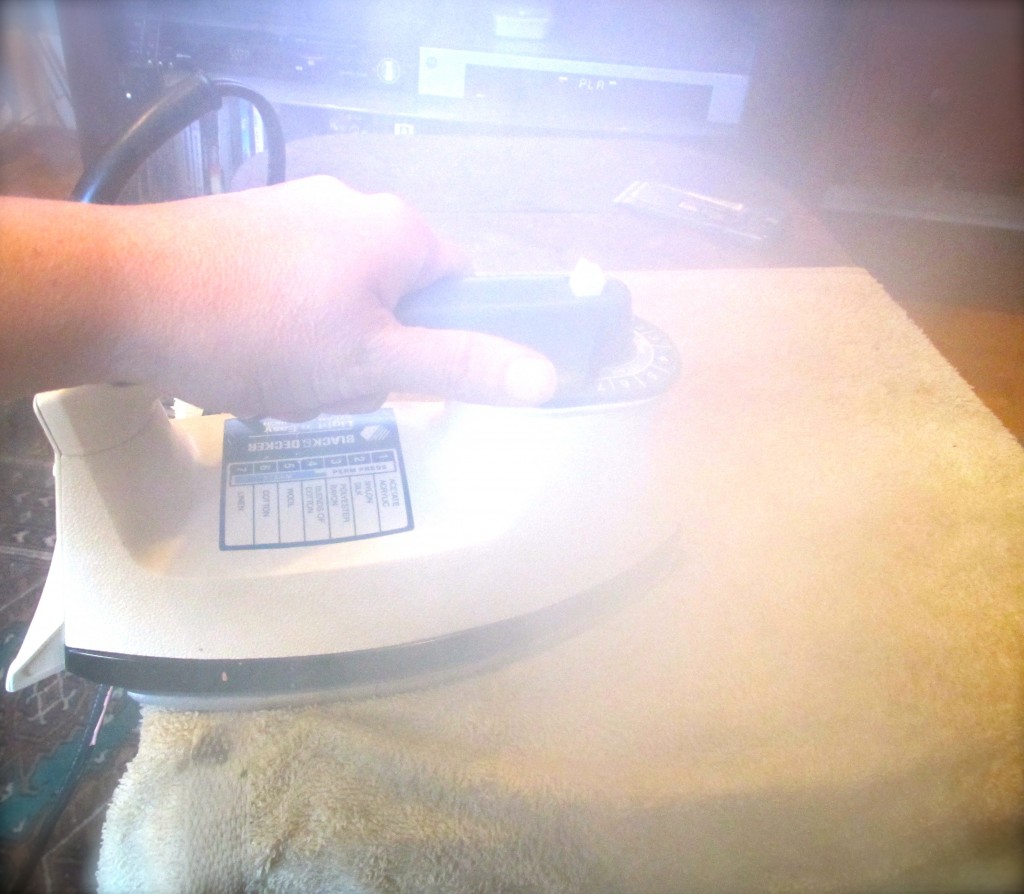
This step will take awhile, so set up in front of Netflix episodes of Buffy The Vampire Slayer.
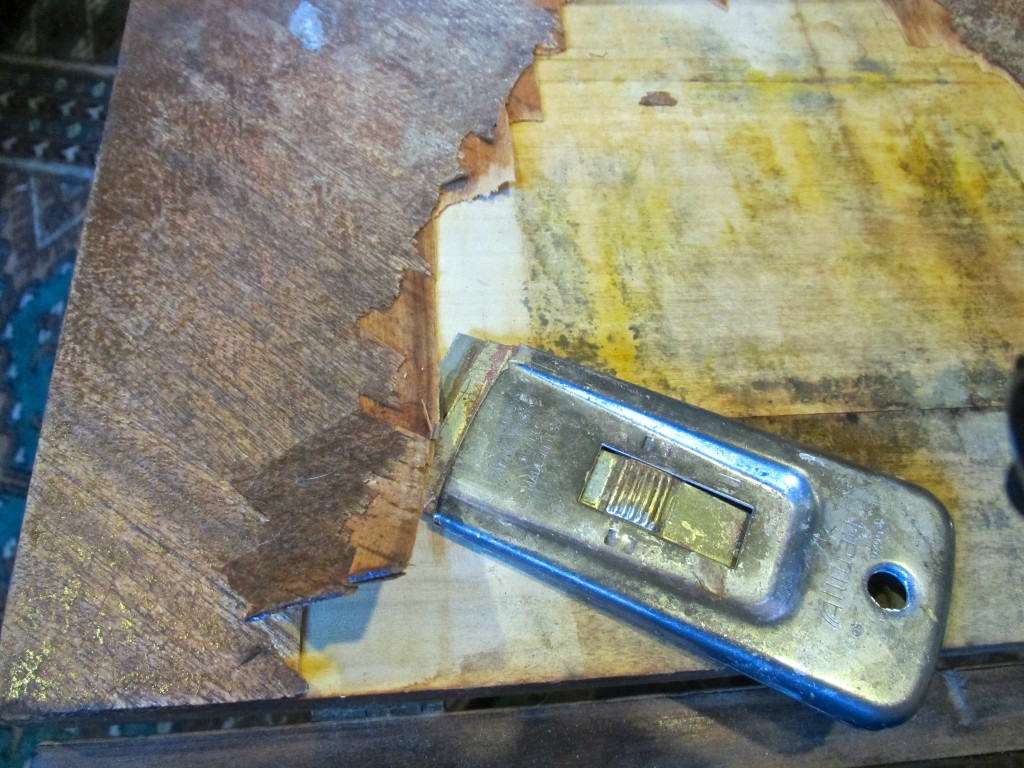
Step Three:
Fill any gouges with wood putty.
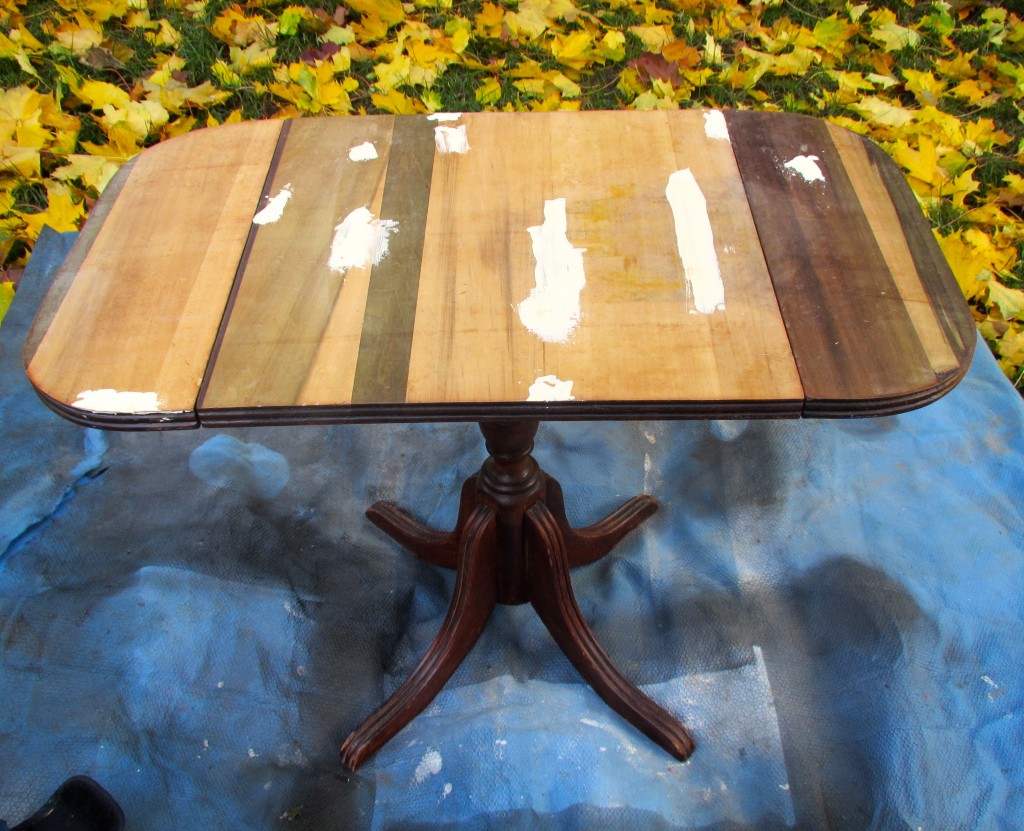
Step Four:
Sand down the wood putty until it is even with the table's surface.
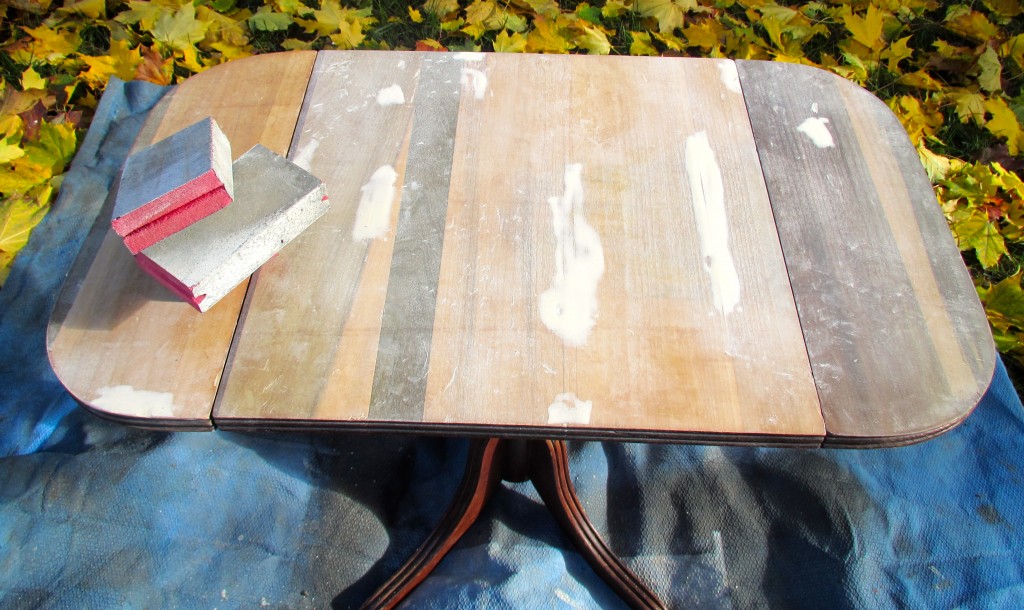
Step Five:
Prime the table. I used spray primer, but a brush-on primer would work as well.
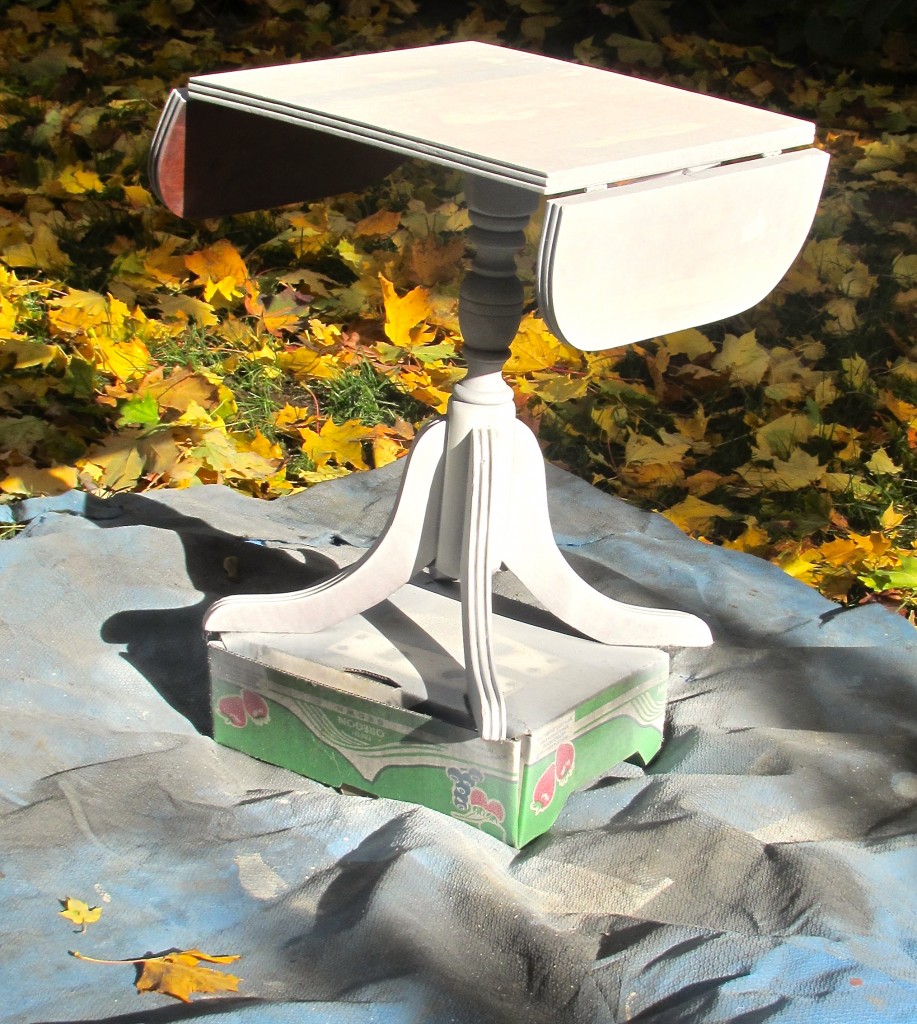
Step Six:
Paint two coats of semi-gloss cream colored paint. (This is the color of our wood trim, so we already owned the paint.) I waited a day, and then turned the table upside down to paint the underside.
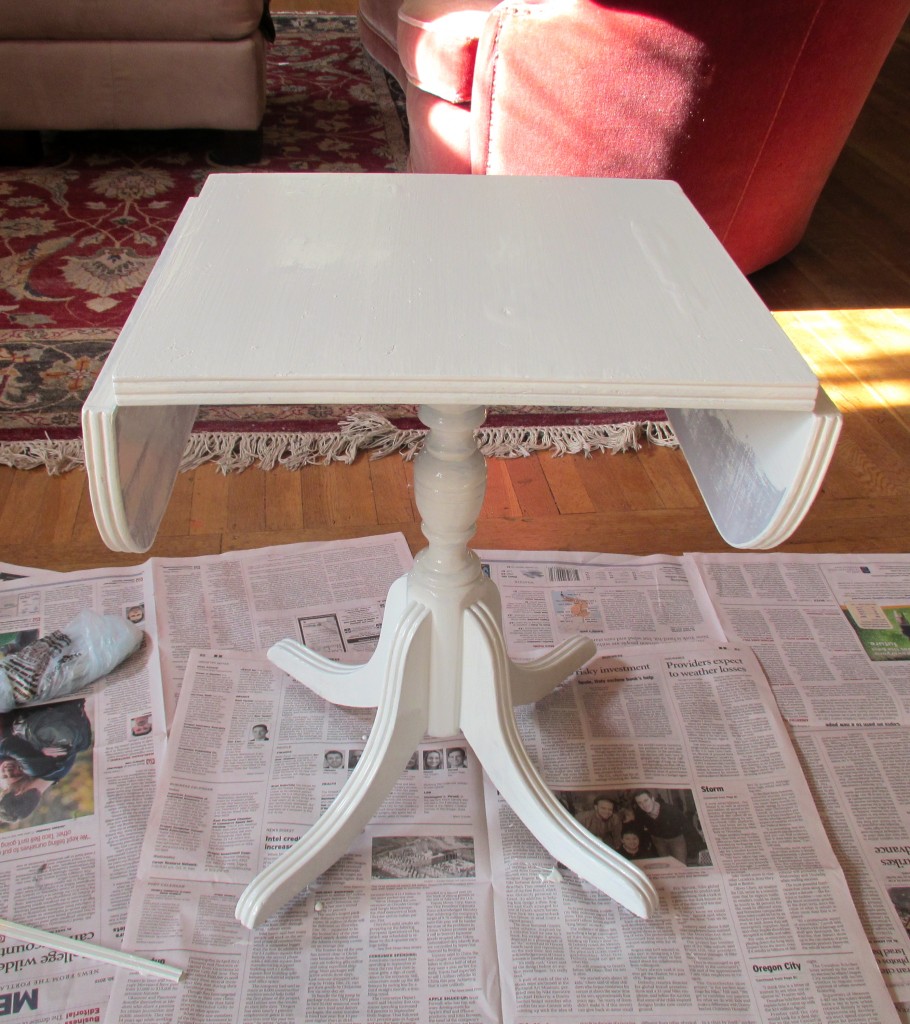
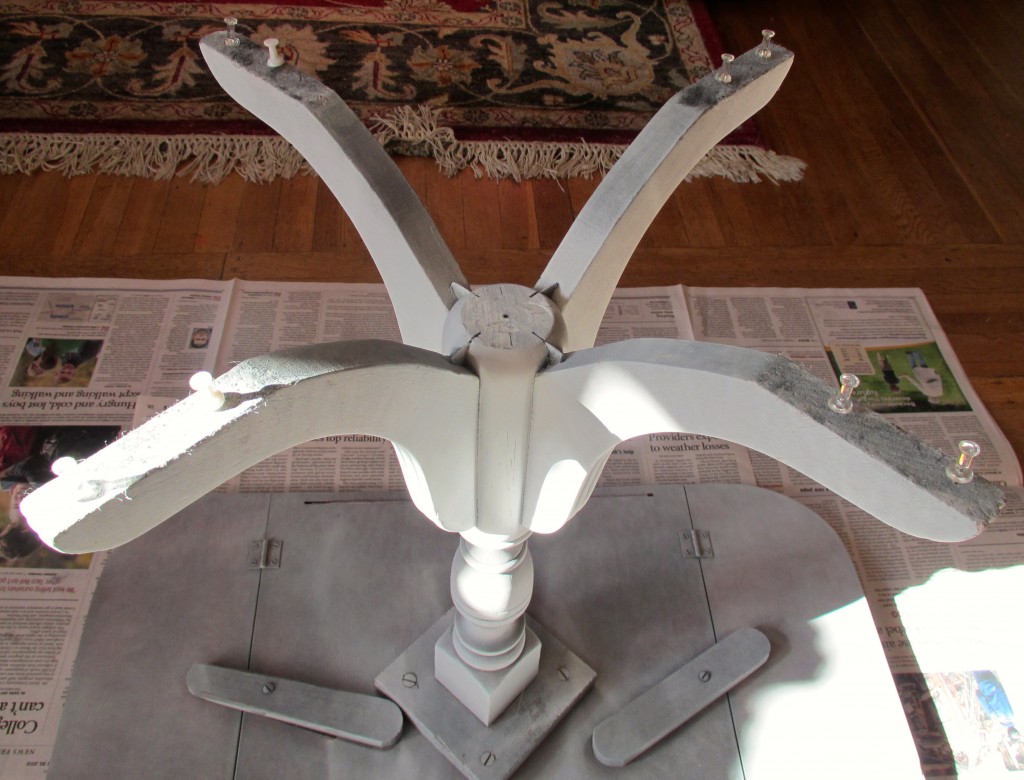
Here was a nifty trick. I put thumbtacks on the feet, so I could paint all the way to the bottom without having the table stick to the newspaper.
Here is my blank slate, all ready for masking off with painter's tape.
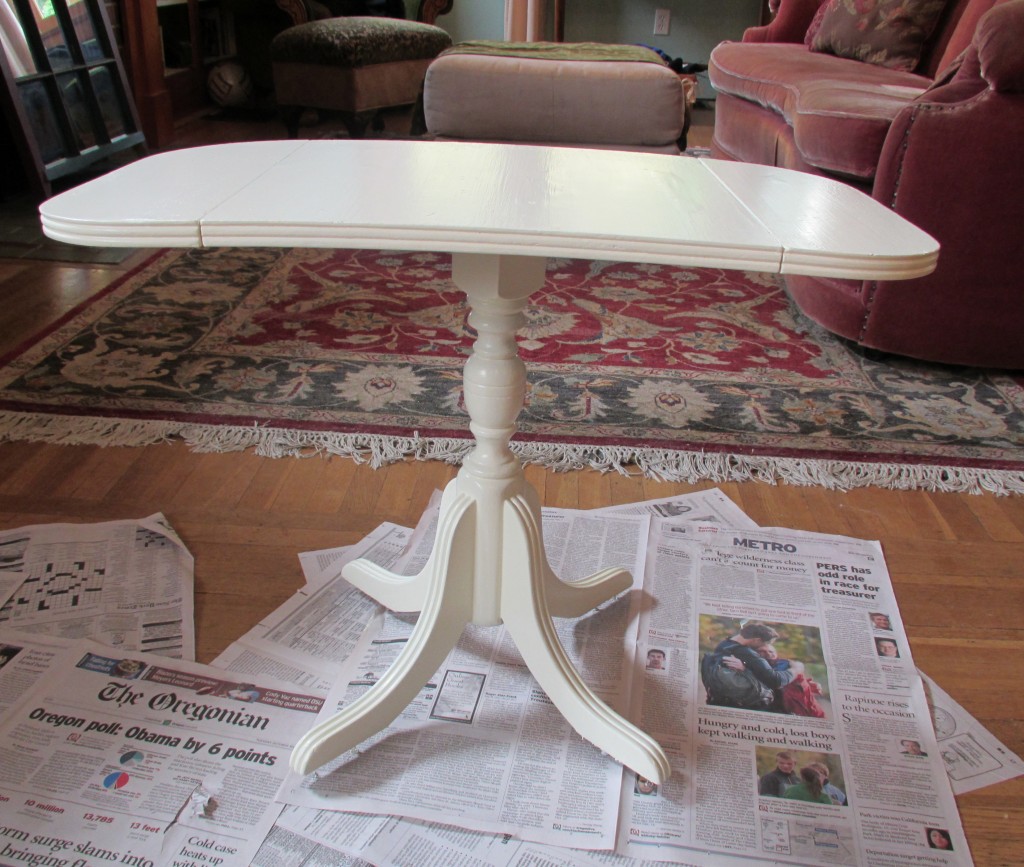
Step Seven:
Measure out your table and then mask off for the first coat of colored paint. I chose different green colors rather than the traditional red and blue as I felt it would look less garish. Also, this allowed me to just mix up colors from paints we already owned. Necessity being the mother of invention and all.
I took the pricey painter's tape and cut it lengthwise to double the product. I made sure to place the original straight edge where it mattered for nice straight lines.
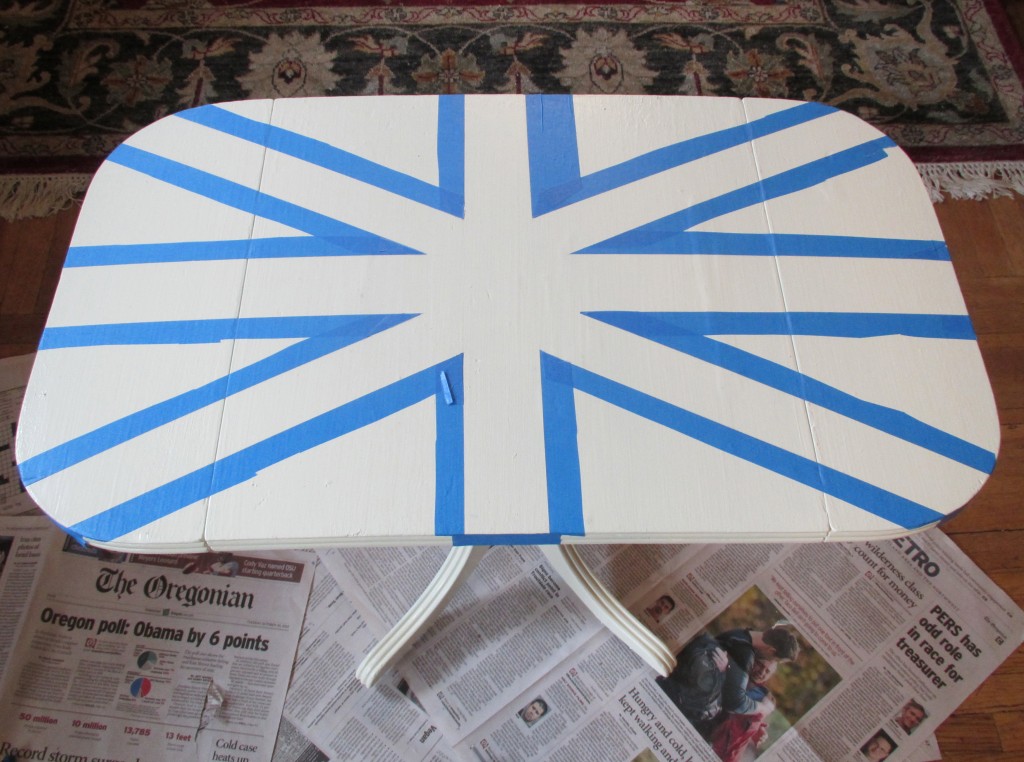
Step Eight:
Paint inside the tape lines.
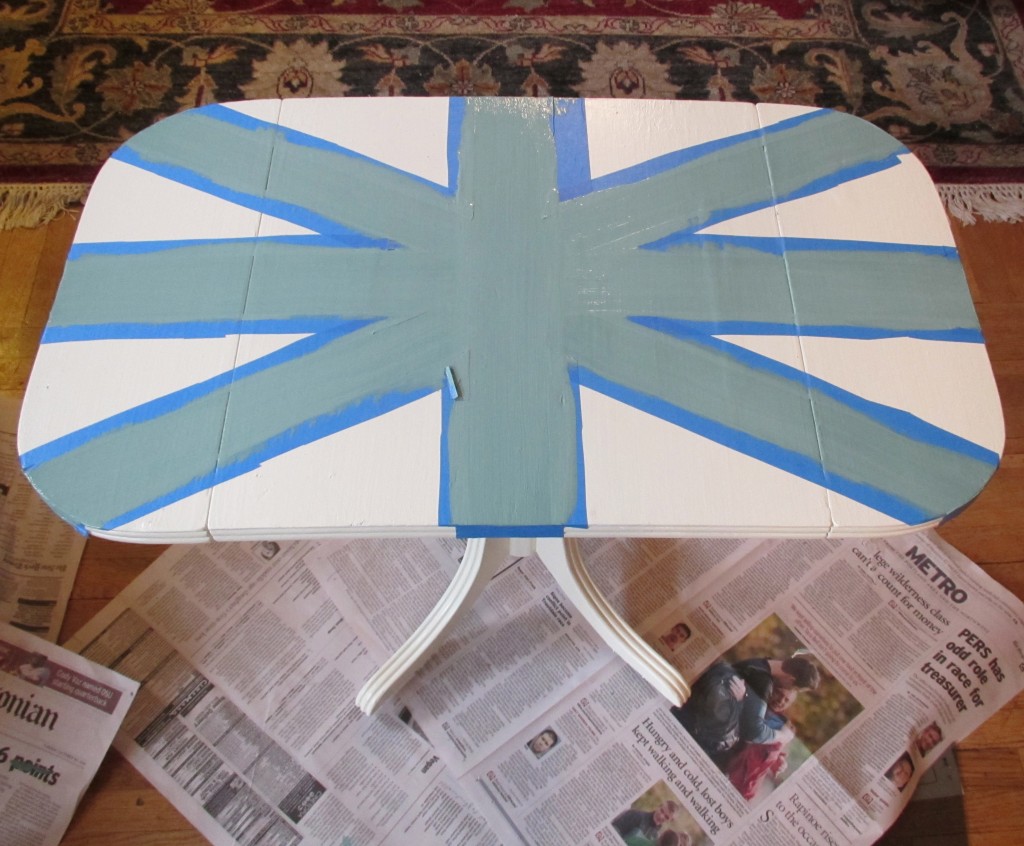
Step Nine:
Carefully peel the tape off. I did this step while the paint was still a little wet to ensure crisp lines.
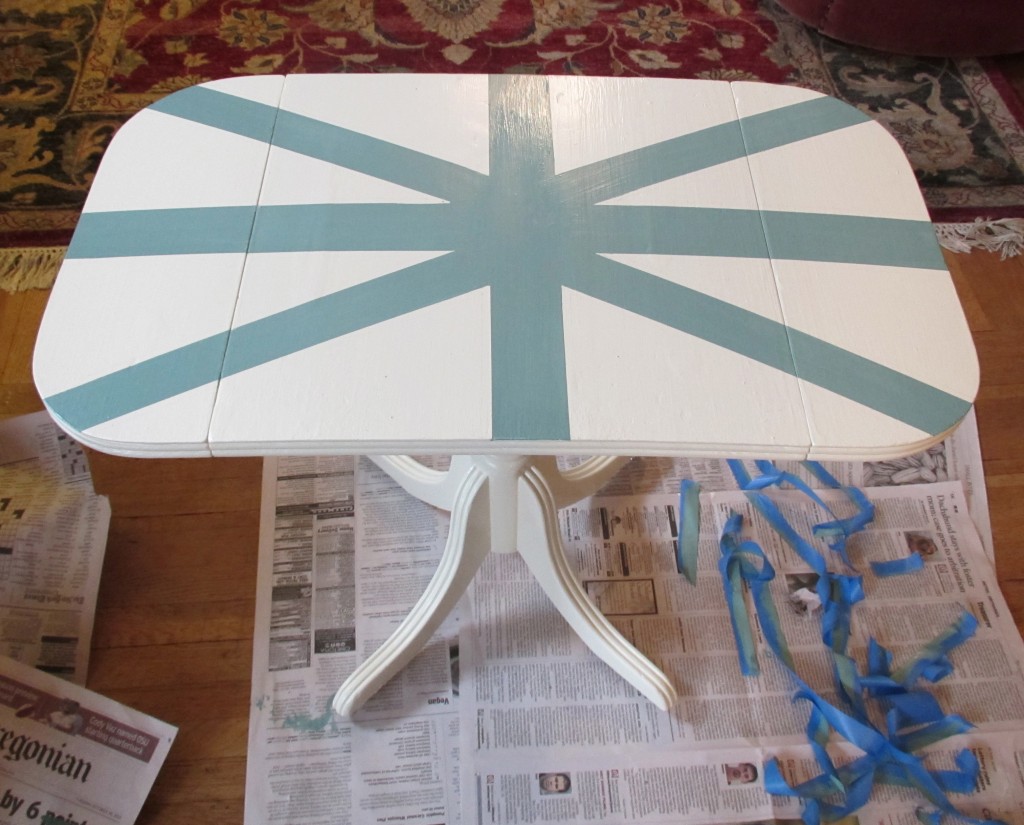
Step Ten:
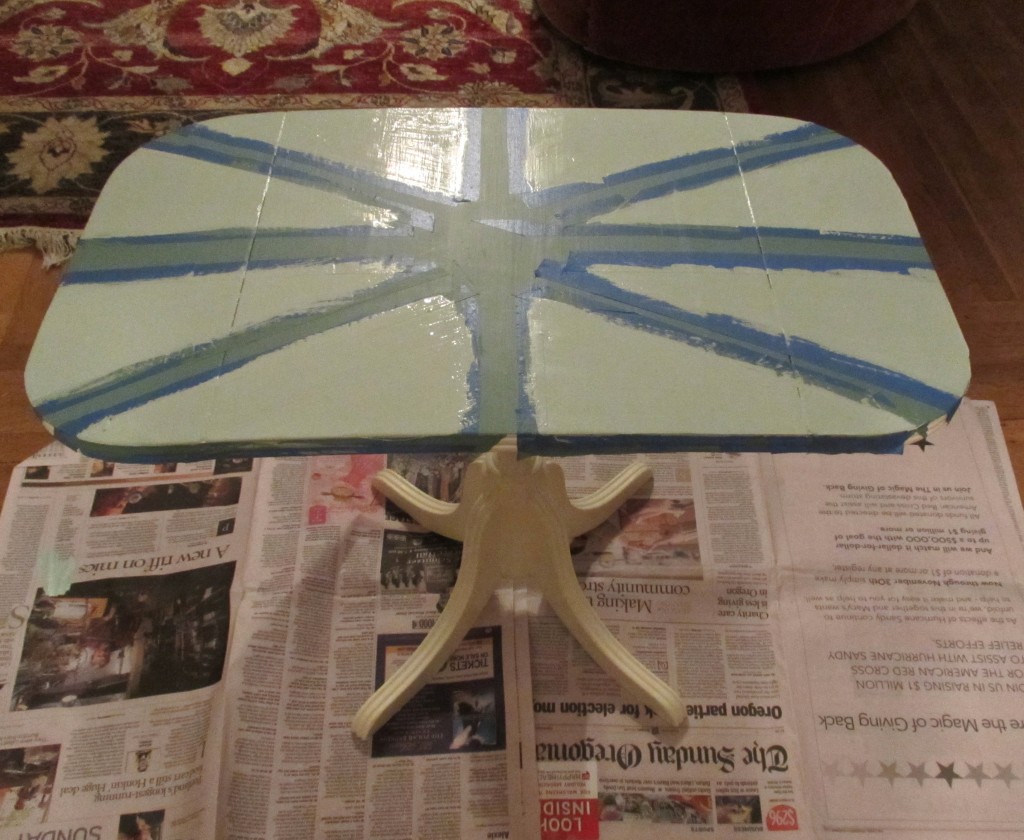
Wait a day and then mask off for the big triangular lines. Make sure to leave the spot for the cream colored accents. I reused as much of the tape as possible, as I hate waste. Have your husband snap a blurry photo of you.
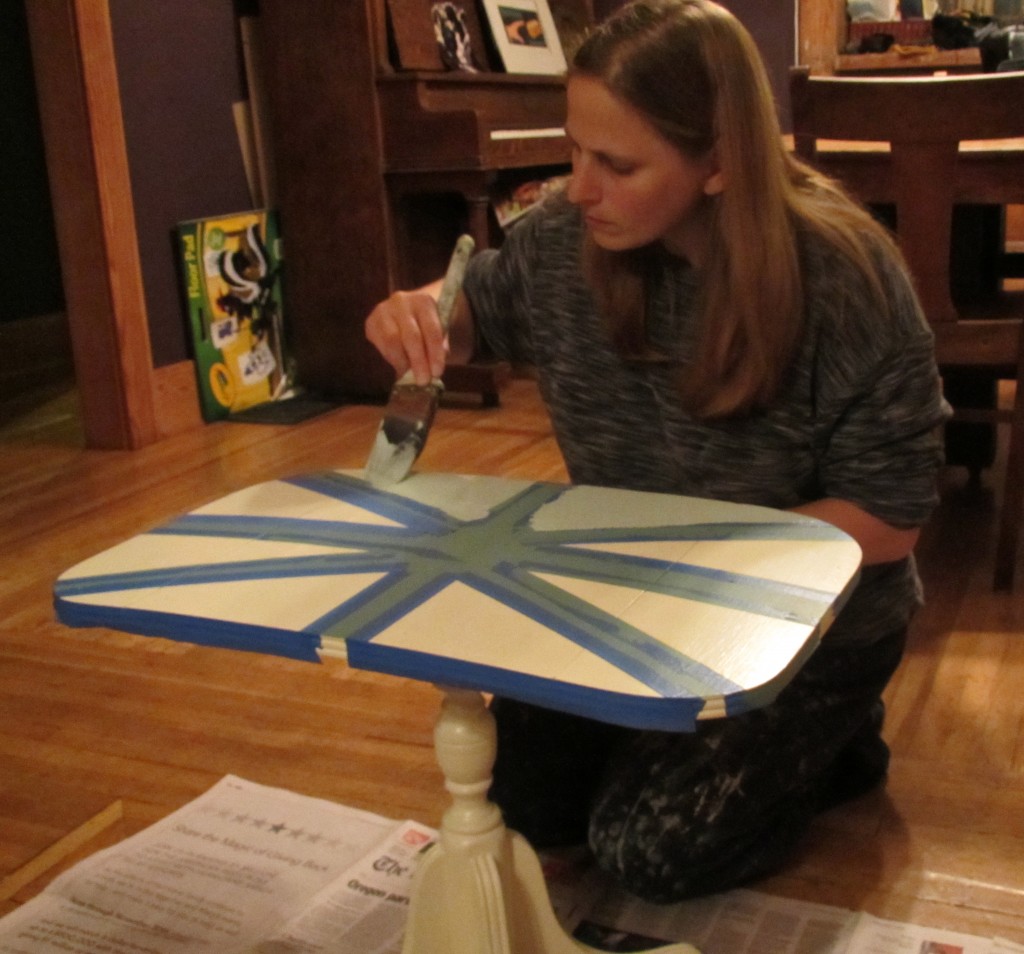
See? The paint is all completed, and it's ready for the tape to be removed.
There is one last step which I did not photograph, which was to spray a coat of polyurethane on the top surface. I want this table to be able to host sloppy cups of tea without having to freak out about it.
And violà, the table is completed! And all it took were 4826 easy steps!
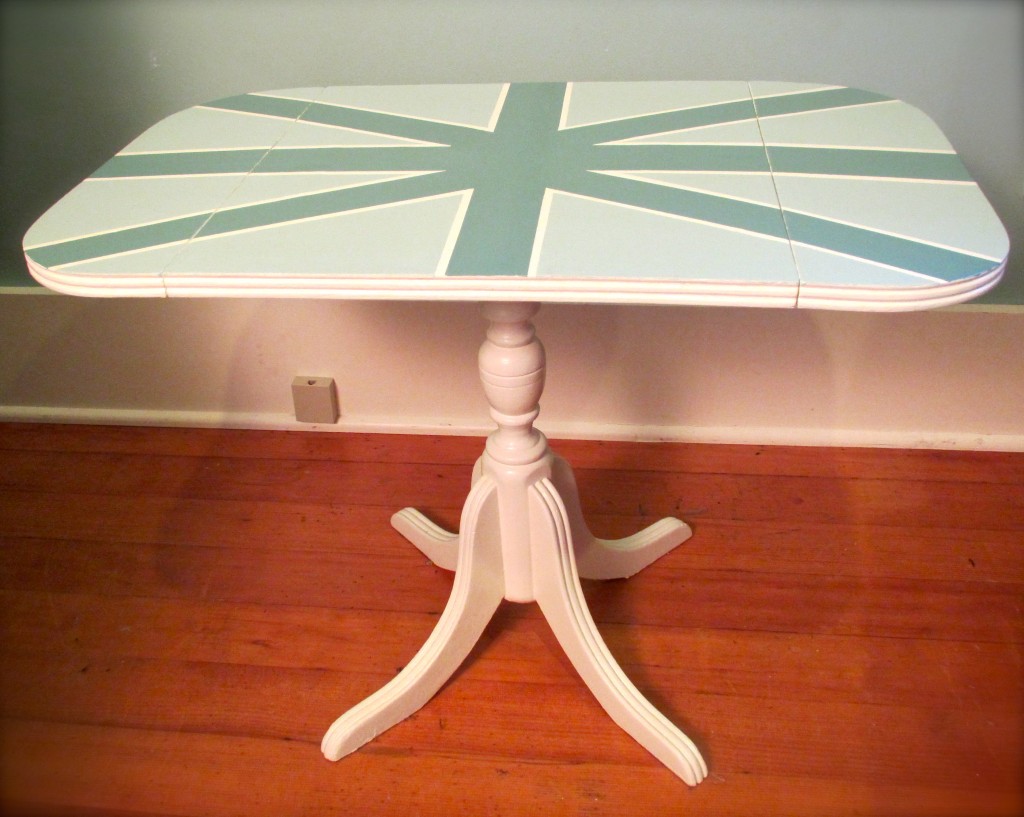
And no shot of this table would be complete without a shot of the sides in the downward position.
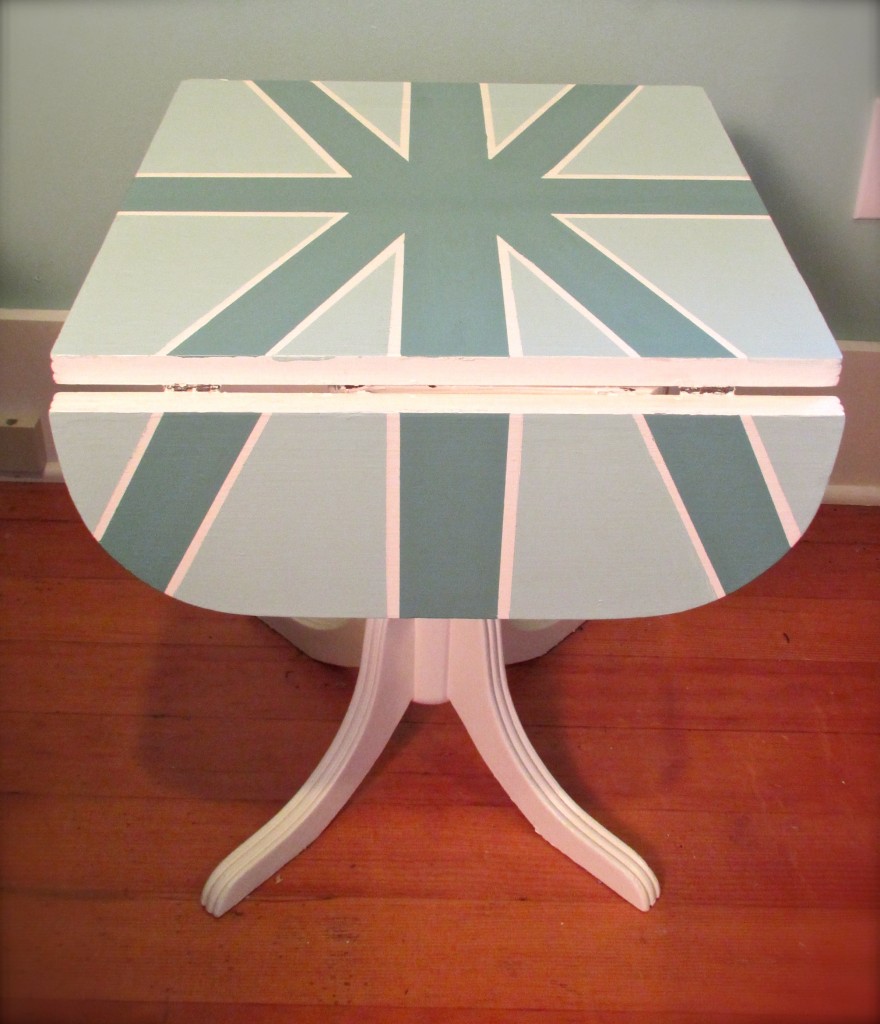
There may have been a large number of individual steps in this project, but none of them took that long, and my only cost was the $3.75 can of spray primer, which I still own most of.
There is so much unloved furniture out there on streets, in basements and in attics. Outdated or simply roughed up, there is some serious potential out there, you just have to click your mind over to creative and grab a paint brush. And Buffy, of course.
Katy Wolk-Stanley
"Use it up, wear it out, make it do or do without."
Click HERE to follow The Non-Consumer Advocate on Twitter.
Click HERE to join The Non-Consumer Advocate Facebook group.
Click HERE to follow The Non-Consumer Advocate on Pinterest.
P.S. I am completely aware that my table is more Union Jack inspired than actual Union Jack. I'm okay with that. 😀



Super job, Katy! I've never had the patience to deal with painting stripes, but yours look great.
That part took hardly any time.
Katy
thumbtacks, lightbulb moment!
I would like to think that I invented this trick, but I probably read it somewhere.
Katy
Gorgeous table! So unique and chic too.
I am not sure I am ambitious enough for this. I would just have to pay for such a lovely table. Great job!
Love the colours - thank you for showing your method!
I love the thumbtack tip. My brain is whirling now with new ideas!!
The husband and kids? What do they think of it? I hope they think you are pretty crafty!
They think it's cool, but to them it's just another day living with Katy Wolk-Stanley.
Katy
Long time stalker, but the Buffy reference forced me to comment. I knew I liked you!
Ha, too funny!
Katy
First of all, I love your blog title and tagline and design. They're just lovely.
Second of all, you did a great job transforming this piece. I am keeping my eyes peeled for garage sales and curbside finds, so I can do more furniture re-dos. My hubby and I recently re-did our dining table (posted on it today), and it turned out so well, I'm eager for more. Now, your post has me even more inspired.
Warmly,
Lauren
The Thinking Closet