Remember my Before and After Projects, Without the After? Well, today’s blog post actually contains a bit of that oh so enticing after. I loved this project, not only because it makes the bathroom look better, but also because it didn’t cost a penny to execute.
First off is our rusted out bathroom ceiling light:
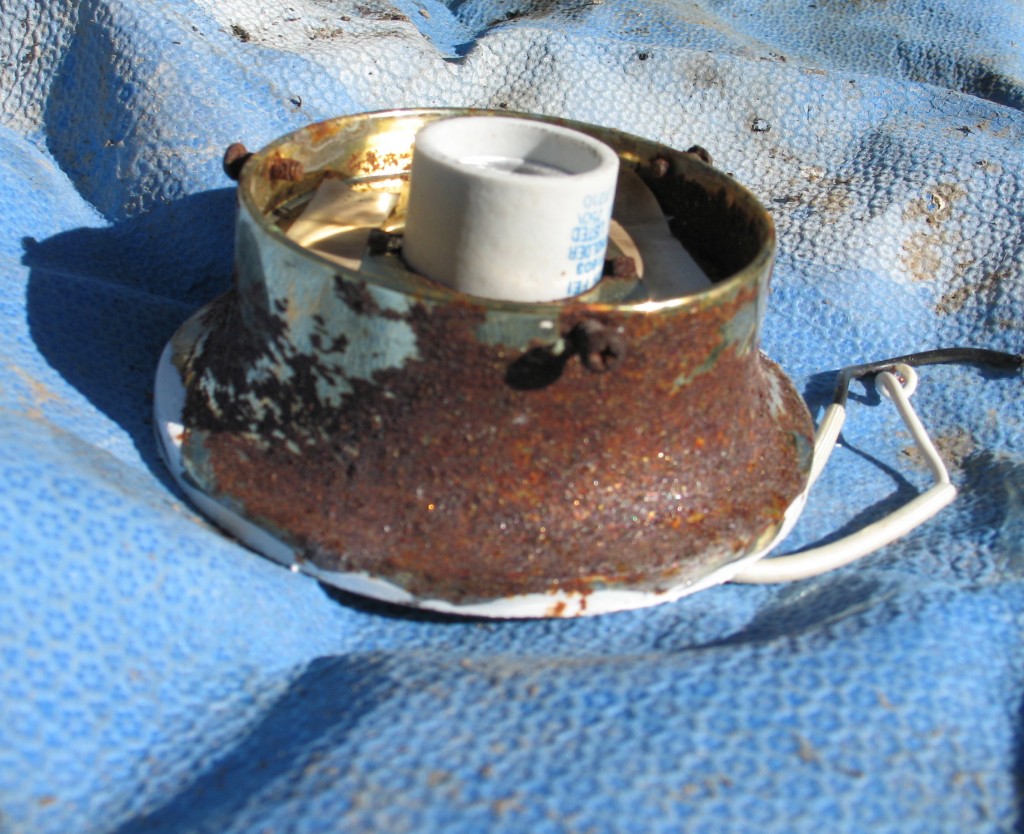
The rust on the ceiling fixture had been looking awful for years. However, it was not all that noticeable until recently when I bought an adorable Goodwill vintage globe that suddenly highlighted the "fifth wall." Do you see what a bright and beautiful day it is? Perfect for outdoor painting projects!
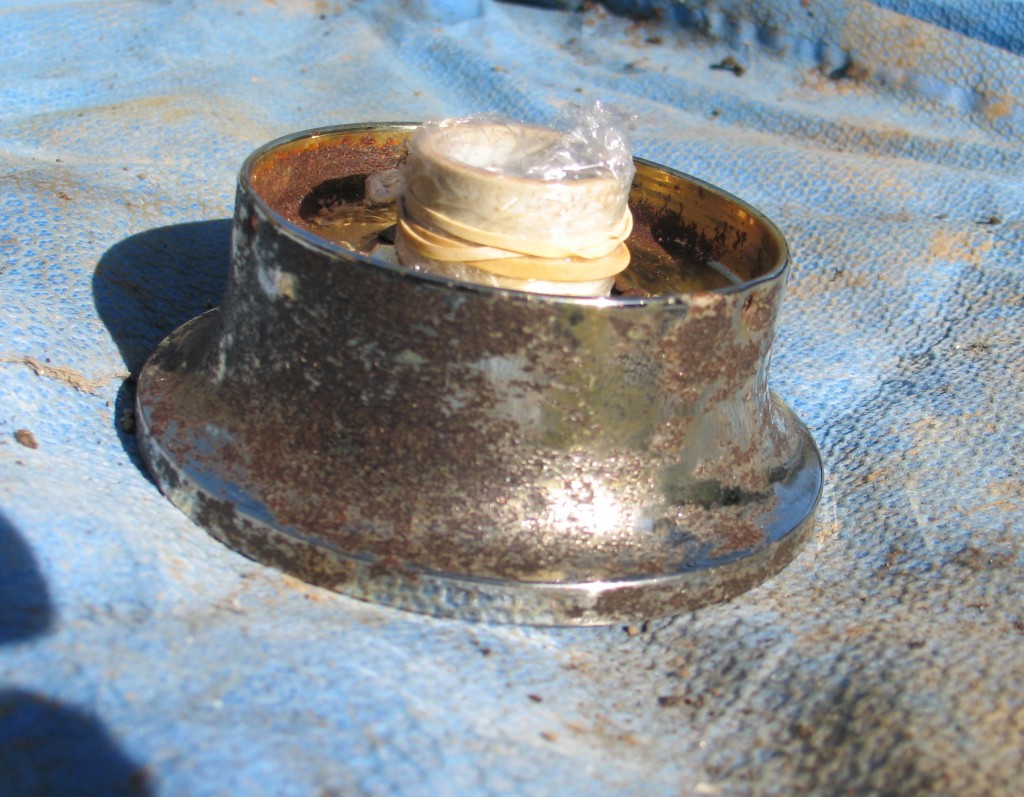
My first step was to spray the sucker with some WD-40 and then scrub it with steel wool to remove as much of the superficial rust as possible. I then rubbed the fixture down with some rubbing alcohol to remove any residual WD-40. Note that I rubber-banded a piece of plastic wrap around the parts that I didn't want painted.
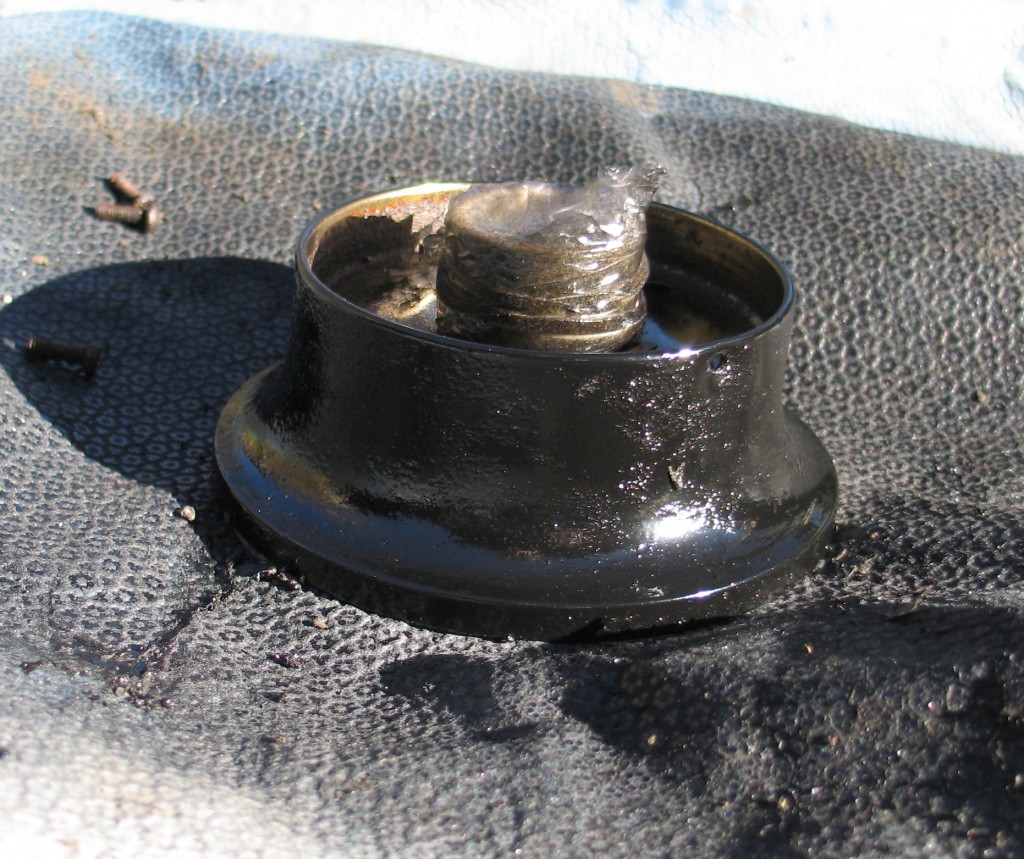
I used black Krylon Fusion spray paint in gloss. Why? Because I already owned a can of it! In all, I sprayed three light layers of the paint, waiting a half hour or so between coats. (The unseasonably warm weather made it fun to stay outside and tidy up the backyard while waiting!) It looks like there's a stuck-on fly in this picture, but fear not, as I did not spray it into place.
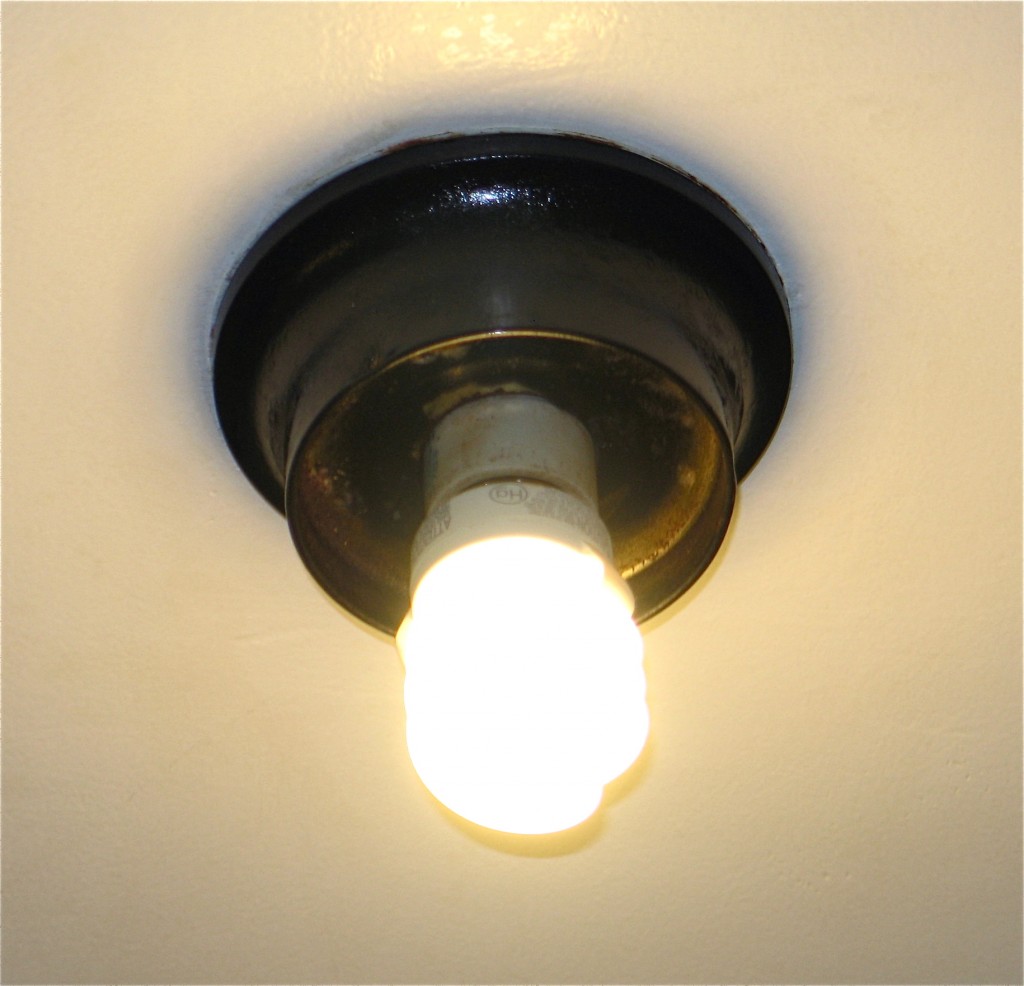
And here's the light fixture mounted back on the bathroom ceiling. There's still a small amount of texture under the paint, but it doesn't look incorrect. And keep in mind that our one and only bathroom has an eight-foot ceiling.
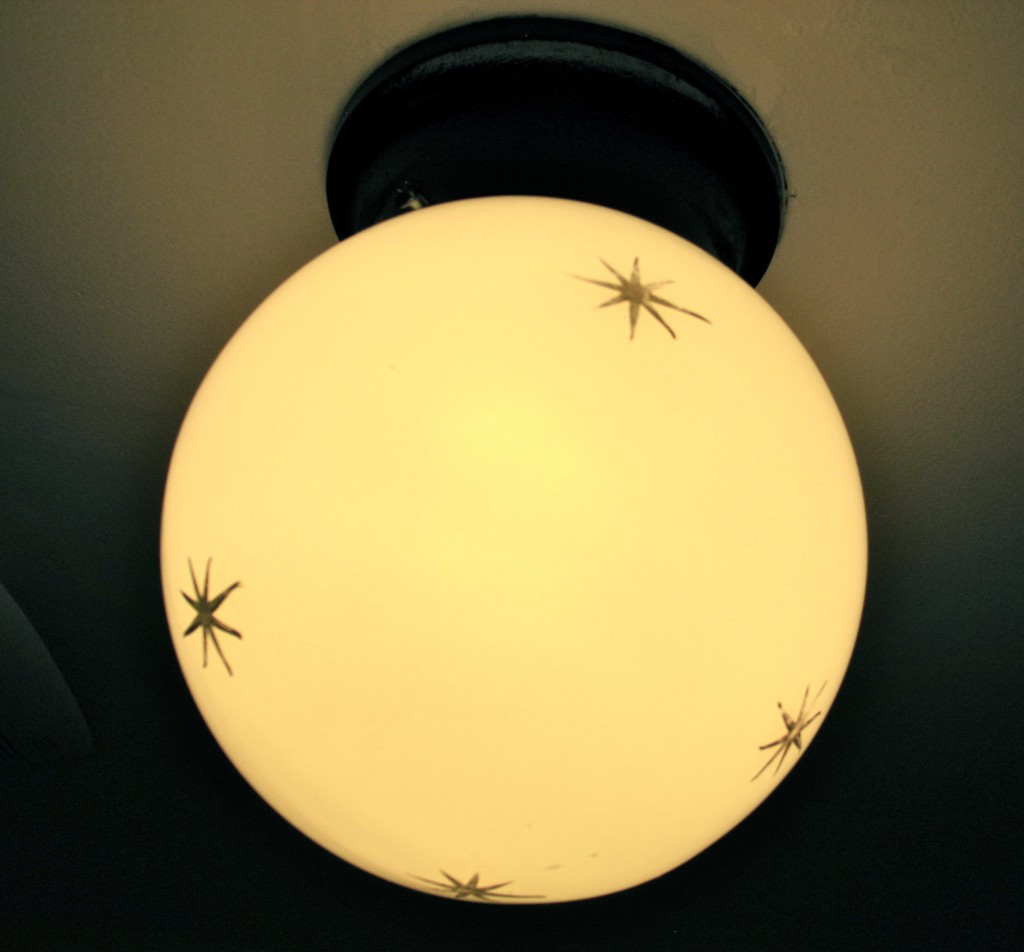
And here's how the fixture looks all completed. Sorry that the photo is less than ideal, but my camera, (okay -- me) is apparently unable to figure out how to photograph a bright light against a white ceiling. Please be assured, it looks super cute!
And just for fun, here’s a before-and-after of my front porch:
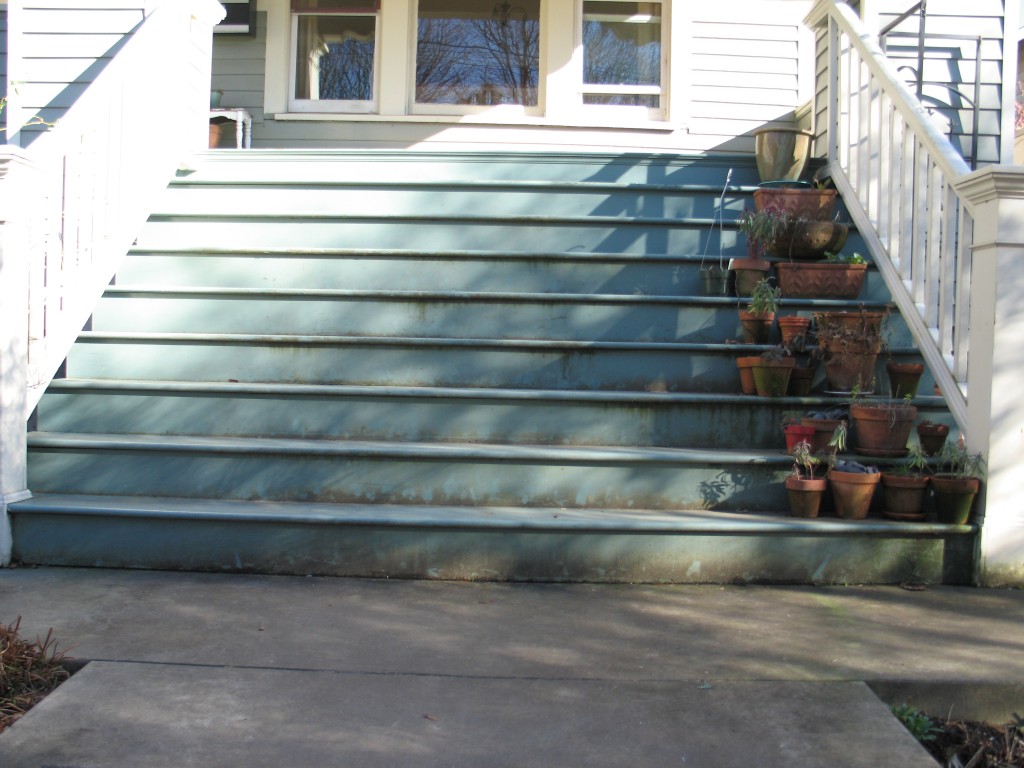
The hodgepodge arrangement of all my flowerpots, with the addition of a winter's worth of dirt and moss were making the front of my house look super grubby. Also, the placement of the now-sold Pottery Barn rug made it so that my beloved Adirondack chairs were shoved over to the side.
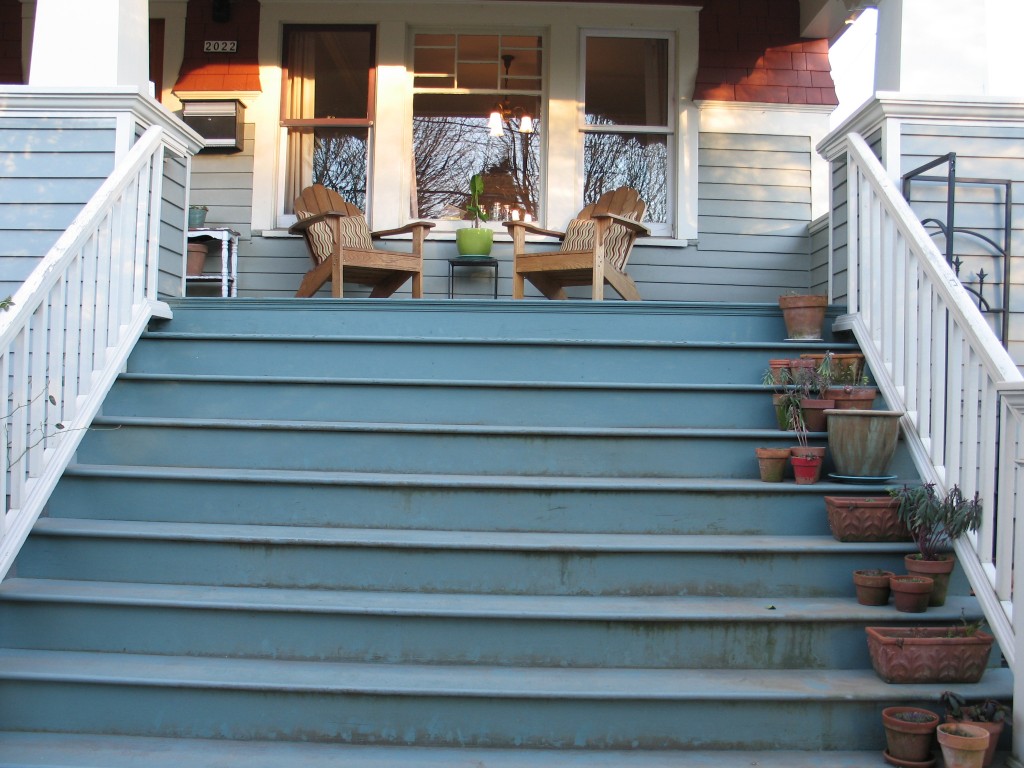
I dry scrubbed the porch steps, (I was worried about accidentally removing paint) and then rearranged the flowerpots. And since the rug was gone, I was able to place my chairs and little table back in their proper place.
I’m a firm believer that many home improvement projects can be undertaken without spending a single cent. Cleaning, rearranging and then refurbishing often cost nothing more than spent time.
Because lord knows there are enough home improvement and maintenance projects that stagger the wallet.
Katy Wolk-Stanley
“Use it up, wear it out, make it do or do without”
Click HERE to follow The Non-Consumer Advocate on Twitter.
Click HERE to join The Non-Consumer Advocate Facebook group.
Click HERE to follow me on Pinterest.


{ 13 comments… read them below or add one }
Ahh! I love that completed project feeling.
Yay for weather warm enough for spray painting…that doesn’t happen often in February!
Love it! It’s great when a little rearranging goes a LONG way! We’re re-landscaping our yards (grass is not AZ friendly…plus we can get a small rebate from the city for removing turf). In order to cut costs, we’re doing all the labor ourselves along with using the rocks in the front to complete the yard in the back. That way we only have to pay for rock for one yard instead of two 🙂
The light looks fantastic! great job!
Thanks!
Katy
I never knew you could get so much rust off – I’d do some of these things if I knew more about them. Thanks for the tips!
Your light (and porch) looks MUCH better!
I adore your new bathroom light fixture.
I’m impressed with your ability to turn nasty into nice. Your bathroom light fixture looks great!
I love your like new light! Today is all about Fix It in my humble abode without spending a penny. A while ago, I found a Chinese fish kite to hang on my porch. And today the sudden inspiration hit to use a dowel I have as a hanger. I painted the dowel, drilled holes in the ends…one to string the kite through and one to screw it to the side of the porch. Now I have a like new adornment totally free.
Sounds great!
Katy
I was very interested in how you sprayed your light fixture with WD40 to help remove the rust. I have an old-old-old kitchen tea cart that I want to clean up and spray paint. It’s been out in the weather for a couple of years and has surface rust.
Question: Do you think I should take the whole thing apart (it has 3 shelves and wheels) to do the cleaning and painting, or should I leave it all together?
Thanks for any and all suggestions!
I would start by leaving it together, and then take it part only if it seems necessary.
Katy