
Before, During, Still No After -- Drop-Leaf Curbside Table
Remember my adorable drop-leaf table that I schlepped home from a neighbor's curb? You know, the one with whom I shared a night of steamy hot fun?
Here, this might jog your memory:

Yeah, I thought so. 😉
Well yesterday finally brought about the perfect storm of circumstances. The sun was shining, (okay, it simply wasn't raining, which counts as sunshine for Oregon in November) I had all supplies assembled and I wasn't working.
I'll start from the beginning and remind you how the table looked before I steamed the veneer from the top:

To which I have to say, there is no bad veneer, only veneer making poor choices. And man, did this veneer make a series of crap-ass choices!
Luckily, there are natural and logical consequences for these poor choices. They may be painful in the here and now, but it's worth it in the long term.

With all the veneer successfully scraped off, it was time to fill in the gauges and cracks with some wood putty. Luckily, we already had a can of it in the basement, so no supplies needed to be purchased for this step.
By the way, that leaf is on the table for scale, so you can see how deliciously tiny it is.

I then sanded the wood putty down to a level that was smooth with the wooden top. I wasn't going for perfection, as the final surface will include a painted graphic that will hopefully hide any less than stellar smoothness.

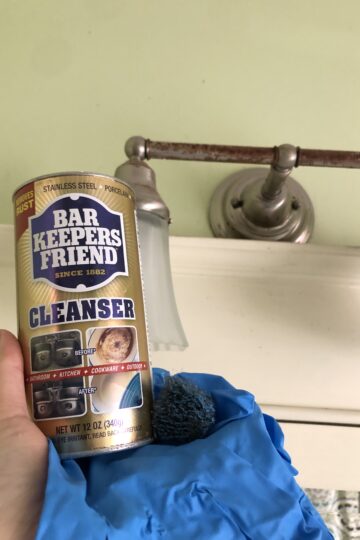
With the thus table scraped, puttied and sanded, it was time for a quick spritz from a can of spray primer. (On sale at Fred Meyer for only $3.65.) I also turned the table upside down to paint the underside, although I didn't photograph that step.

Do you not love all the detail on the table leg? Dare I say it? S-E-X-Y!

Here's an action shot for all you drop-leaf enthusiasts. I just love the versatility of this table, it's the perfect height and footprint for our well used downstairs bedroom.

The next step will be to paint two layers of overall semi-gloss cream colored paint, which I already own. (It's the trim color for our interior.) Lastly I will paint the mystery graphic pattern on the top and top it off with some polyurethane for longevity.
Which means that the only project related expense will be that $3.65 can of spray primer.
Man, do I love curbside finds! So, how do you like my project so far?
Click HERE to read my other Before-and-After blog posts.
Katy Wolk-Stanley
"Use it up, wear it out, make it do or do without."
Click HERE to follow The Non-Consumer Advocate on Twitter.
Click HERE to join The Non-Consumer Advocate Facebook group.
Click HERE to follow The Non-Consumer Advocate on Pinterest.
I feel the the need to add that I had raked that backyard less than 24 hours before these pictures were taken!
Crazy. Huge. Tree.
Katy
Why did you rake? The leaves aren't done falling? 😉
leaves harbor fungus & block light from the lawn you can read more here:
http://www.ehow.com/facts_7352536_do-people-rake-leaves_.html
Believe me, I am raking almost every day!
Katy
Sublime!!!!
Thank you, I quite agree!
Katy
Can't wait to see the finished table. Also, we all deal with leaves....they are so beautiful in the autumn. When it gets to be fall, if you have trees...you will have leave raking job security:).
Good job.
So glad I read this today. I found a vanity that is marked down to $10 at a local thrift store but the veneer was dinged up in a few places. May try to run back and get it before it goes back up!
I wait with eager anticipation to see the end result!
I love the little table. I can hardly wait to see the "after"
I love small tables and yours is perfect. Can't wait to see the mystery graphic.
Love it so far! I can't wait to see the finished product. <3
You are going to show off the finish product aren't you?
Try and stop me! 😀
Katy
"singsong voice" I know what your graphic's gonna be!!! 😉
You may think you know what my graphic is going to be, but you don't know the colors, which will be different from what you expect. 😉
Katy
Can't wait to see!!!
Delightful!!! I'm looking forward to the finished product.
Another adorable transformation! Thanks for all of the tips on what to pick up and what to leave behind from those side of the road trash/treasure piles. Found a pair of hockey skates recently that I plan to sell.
Awesome!
Katy
No fair! You find all the best stuff. Delicate little tables like this are so hard to find. I can't wait to see it finished!
Actually, I saw an almost exact table at a thrift store last week. However, it was pricey.
Katy