How to Make a No-Sew Closet Curtain
Our whole never ending fixer-upper house has been a lesson in learning as we go since day one. Sadly, this often means that it's only when a project is finished that we then know how it should have been done. Also, a number of initial design decisions were made pre-internet, which meant that there was no way to find non-Home Depot resources. (Okay, perhaps not officially "pre-internet," as MIT guys and Al Gore were surely surfing the web in 1996. But I sure wasn't.)
Take our spare bedroom closet as an example. It's oddly large for a 1914 house, and it was only when we toured a neighbor's twin home that we realized that half the closet space was meant to be a linen cupboard, accessible from the hallway outside our one and only bathroom. It was one of those smack-yourself-upside-the-head ah-hah moments, as we realized that of course our house should have had a linen cupboard.
It was the "duh" heard around the world.
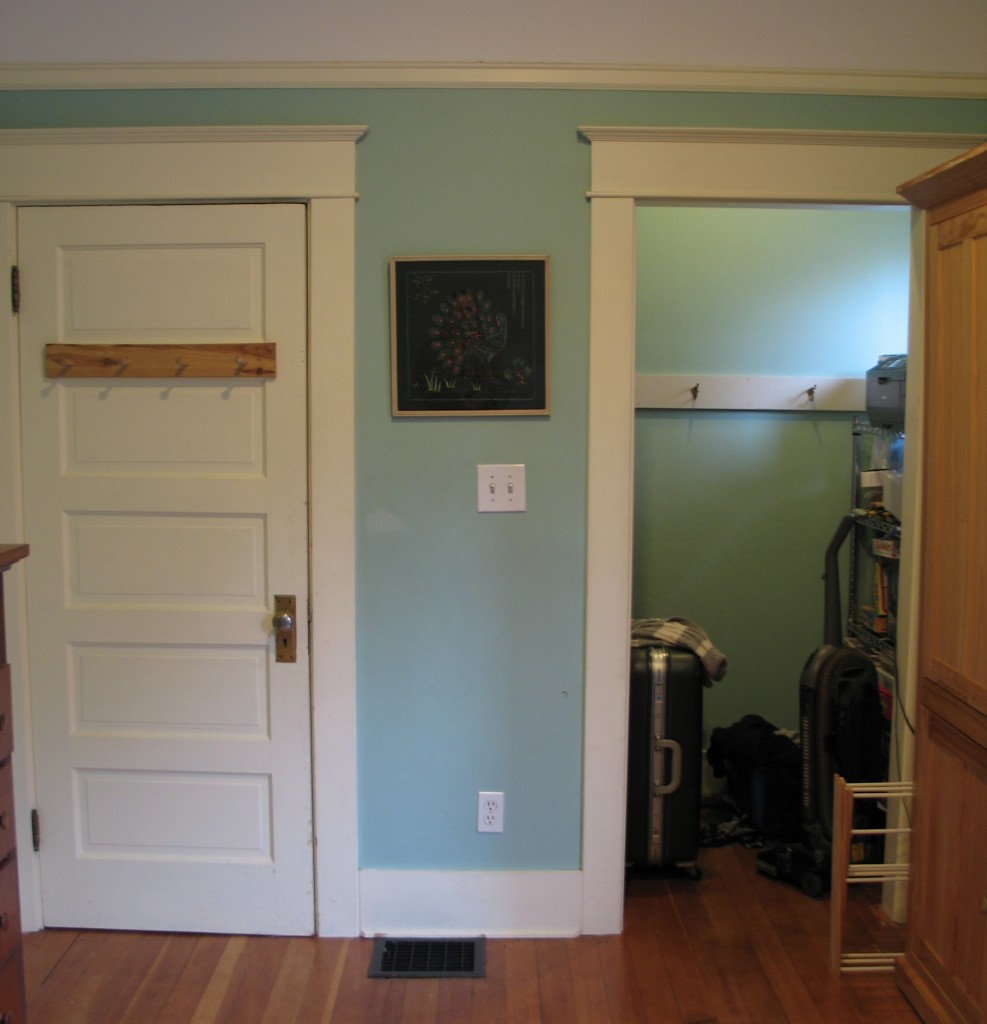
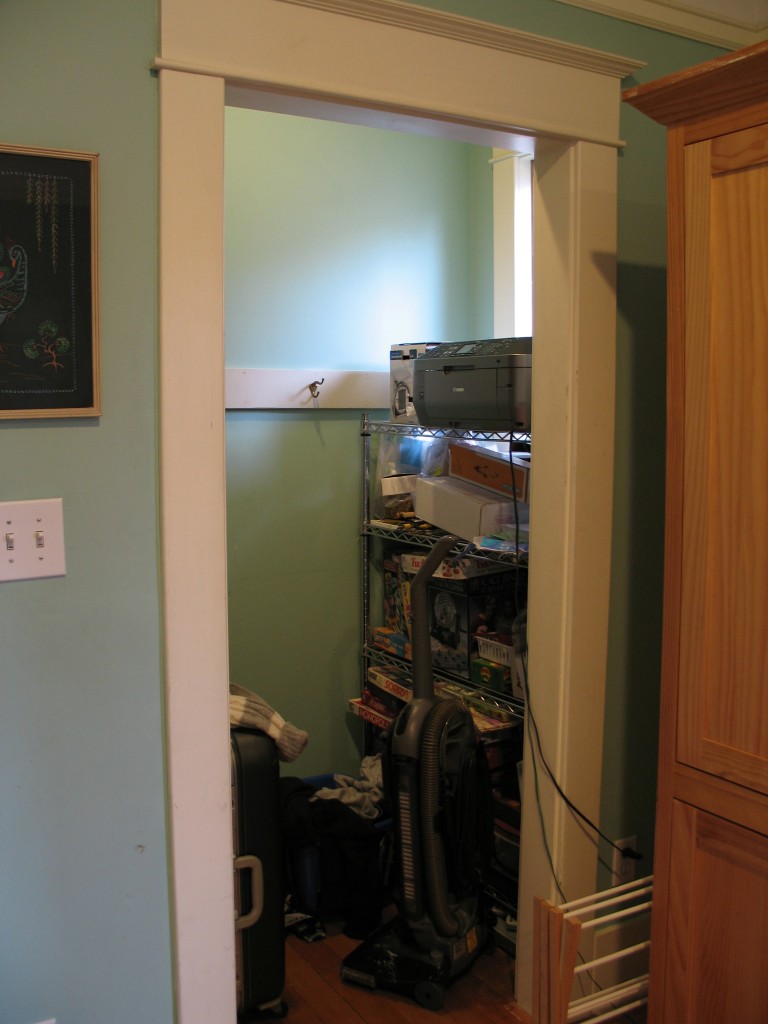
However, my husband had already spent a significant amount of time outfitting this large closet for optimal storage, and there was no way we were going back to the drawing board. Unfortunately, in all our planning, we never installed a door on the closet. (Why? Maybe the whole we have tiny kids and work exhausting jobs thing got in the way.) So even though the room is super cute, the extra suitcases, vacuum cleaner and whatnot are always in view.
Fast forward 15 years, and I was ready to tackle this project. My inspiration? This photo of a curtain installed inside the closet from Young House Love:
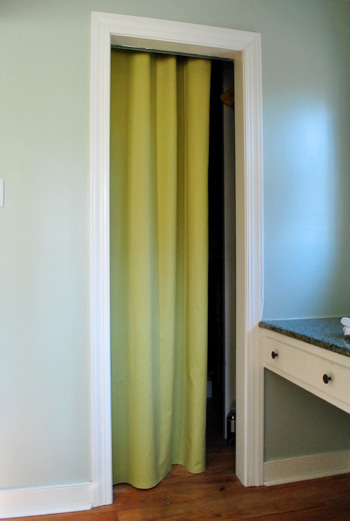
And a lightbulb went off. I could totally do that!
So I dragged my friend Sasha to the fabric store, (and Ikea) and bought the fabric, Heat'n Bond and curtain clips. I already had an extra curtain rod, which I shortened using a pipe cutter. (Fun!) An evening spent measuring, cutting and ironing was all it took to complete the project.
Here's how the room looked Before:
And here's a detail shot, of all the glory of our visible closet paraphernalia:
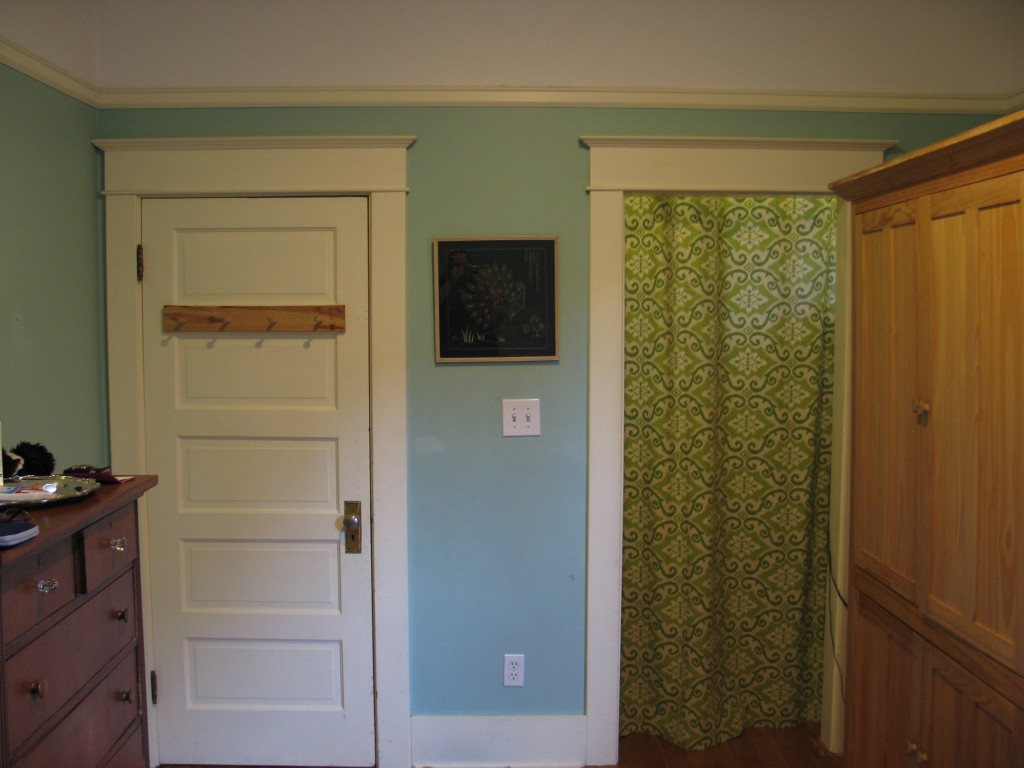
And here's the After:
And here's how the closet looks with the curtain pulled to the side:
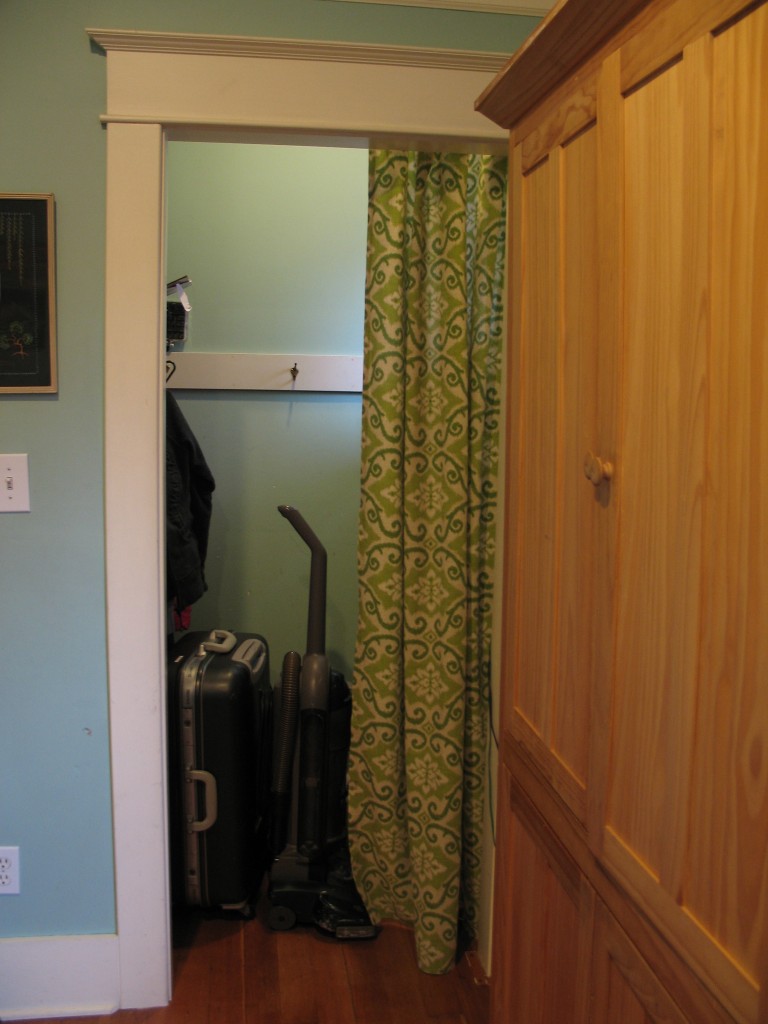
And here's what the curtain looks like inside the closet:
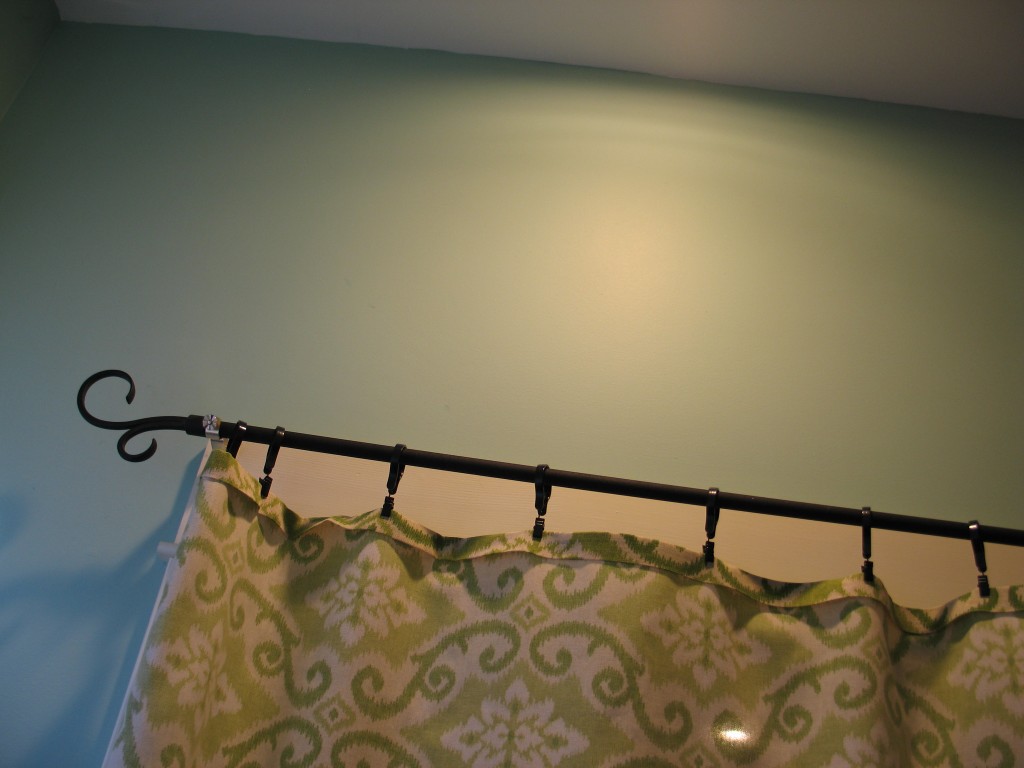
This is the perfect kind of project for a renter, (or frankly anyone who's not up for the job of proper door installation.) In the end the project cost me around twenty bucks. And if I had been patient about finding secondhand (or free) fabric, the cost would simply have been the curtain clips and the Heat'n Bond. And if my mother hadn't absconded to Nebraska with her sewing machine, that last expense could have been eliminated.
Now . . . what should I do next? 😉
Katy Wolk-Stanley
"Use it up, wear it out, make it do or do without"
Click HERE to follow The Non-Consumer Advocate on Twitter.
Click HERE to join The Non-Consumer Advocate Facebook group.

Now, that is very clever.
And how long did it take me to deal with it?
Katy
Great idea. We did the same and made two matching curtains for side by side doors from a cool patterned sheet found at he second-hand store. The only difference was that I turned over the top and ran a narrow rod through. I wish I had thought of clips because of the "sliding like butter" factor.
And I love the word "absconded" 🙂 You must have enjoyed getting to use it!
Here's how I "use my mother's sewing machine:
"Mom, can I borrow your sewing machine for _____?"
"Oh here, honey, let me do it for you."
Works every time. 😉
Katy
That's exactly how I use my Mom & my friend's sewing machine. Sewing machine is pretty much on the "Things I Never Want to Purchase" list exactly for that reason! I think I might need to give this project a try soon. The curtain on the tension rod method does not slide like butter.
Very nicely done Katy,
Having put this project off for 15 years you could totally had the patience to search not only for fabric from the thrift store but the clips and even the heat & bond. I've seen it all in second hand stores. Since I sew a lot I keep an eye out for those kinds of things and purchase them when they turn up just so I'll have them on hand when needed for a project.
Your room with the curtain looks very nice.
Oooh, I like the fabric! The green looks very nice with your blue walls.
I have pondered covering the gross (to me) 80's mirrored doors on my closets many a time, but haven't quite got up the motivation and/or figured out the logistics to make it happen.
What is heatnbond?? I have curtains I need to join together and am looking for an easy, nonsewing alternative.
Jan,
Here's a link to Heat'n Bond:
http://www.amazon.com/Thermoweb-Heatn-Ultra-Iron-Adhesive-7/dp/B001144X3E/ref=dp_cp_ob_ac_title_2
Katy
What's next, you ask? You must explore the world of canvas painter's dropcloth (if you squint it looks like linen)....depending on where you get them the fabric comes out to about $3+ a yard. Totally cheap. Our house had two rooms with HUGE closet door openings and of course, no closet doors. One closet got converted to a desk/sewing table cubby the other was curtained with a wooden closet rod and two drop cloths curtains. Another beautiful thing is that the edges are already hemmed. (Of course, this did require sewing to make the casing, but still....fast and cheap)
Brilliant! I've been missing closet doors for several years now. I've been meaning to hang drapery rods from the outside, but I luv how clean it looks from the inside! I'm gonna copy you...the ultimate compliment! Yay!
I am a long time Young House Love reader, and I also read your blog regularly, so it's really fun for me to see how their blog is inspiring you as well!
I love this idea. We have a few closets where we put the curtains on the outside but I really love how it looks on the inside. I might have to do this in the closet for our master bedroom because the door position in that room is really awkward.
"And because the curtain is on clips, it's slides to the side like greased butter."
Like greased butter?
lol
That would sure be slippery!