My yearning to create a hanging light fixture from a globe started last year when I read a how-to article in the local paper.
“Cool!” Said I. “That would look awesome in my son’s map blinded room!”
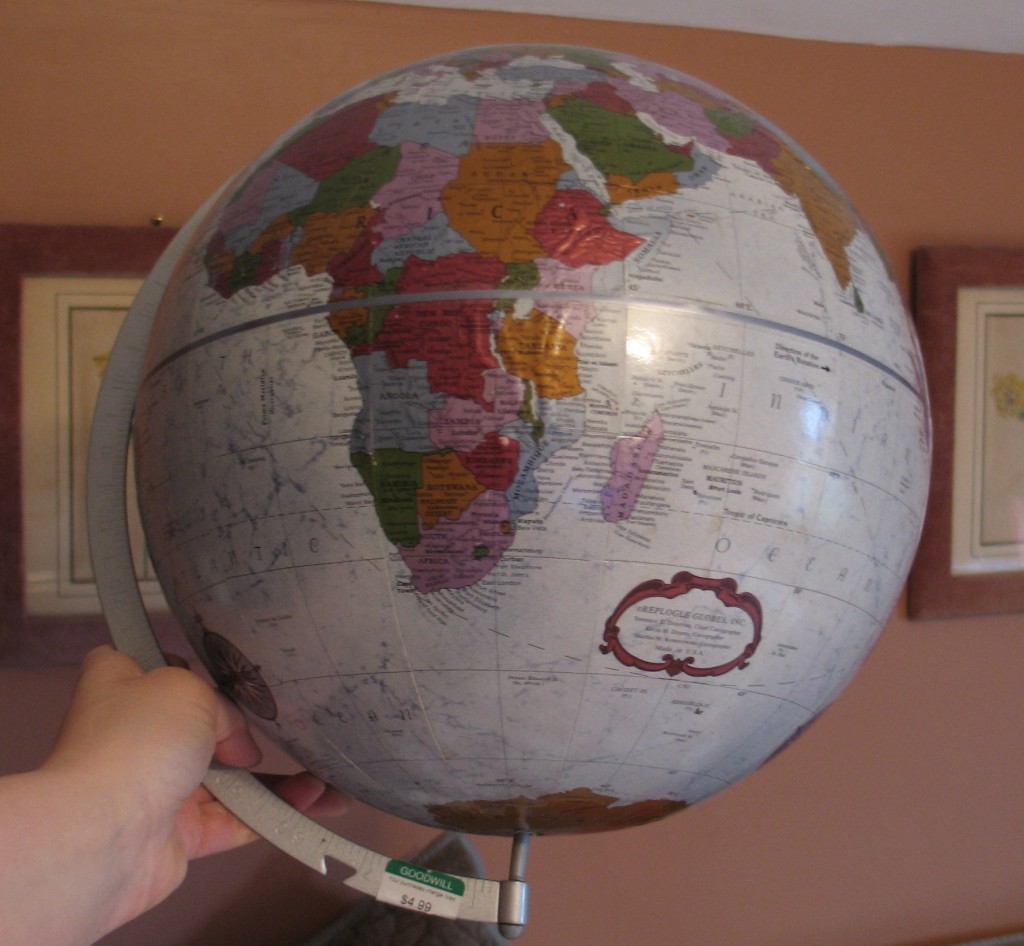
And when I picked up what I think was a Flöffenblööpenk Hemma light fixture cord for $1 in the Ikea seconds department, I knew I was halfway there. However, it took a surprising amount of time to find the perfect globe. Of course, I was only looking in thrift stores, which bafflingly provided either expensive or torn up specimens. But the recent score of a $2.99 globe completed my supplies list for this project.
-
Globe
-
Lighting kit
-
Glue
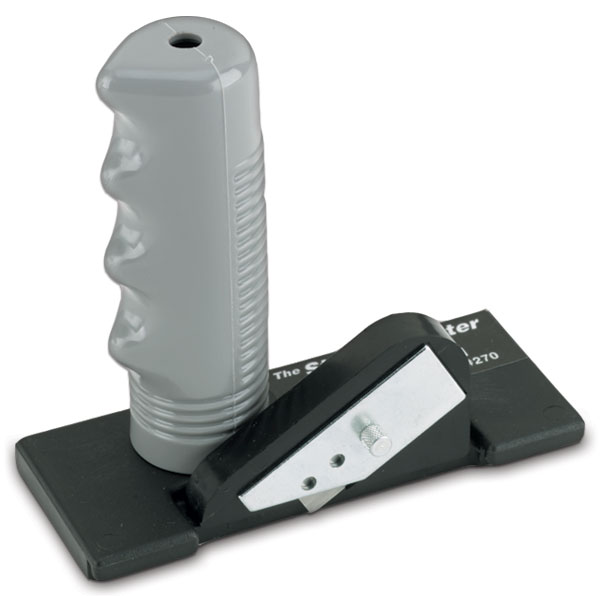
The directions from the article recommended using an Ex-Acto knife to bisect the globe, but mine is stashed in such a fantastically kid-proof locale as to be somewhat adult-proof as well. Luckily, I realized that our mat cutter would provide the perfect solution, as the handle/blade thingy (real name, I swear!) would work just as well, if not better. It looks like this:
It took much longer to cut the globe in half than I had anticipated, (at least half an hour) but I knew that taking my time was key to not pairing this project with a trip to the ER. (It turns out that there’s a super thick band of strong cardboard at the equator.)
Once the globe was cut in half, I held the lighting to the top, (North Pole) and traced how big I needed the circle to be. (This step was much easier as this cardboard was fairly thin.) I then popped the fixture through and glued it into place. At first I used my hot glue gun, bit this proved to be a bad idea it requires a person to work fast, which is not my strong suit. (I accidentally tore a piece of the map off the top, which resulted in a large amount of indelicate wordage. Luckily, I was able to Mod-Podge that piece back in place.) What worked for me was epoxy glue.
Installation was a matter of screwing a couple of hooks into the ceiling and wall. And finding a stud was a non-issue, as this fixture weighs next to nothing.
Here’s a few extra pictures for your viewing pleasure. Sorry that the photos are less than stellar, but my point-and-shoot is somewhat crappy, and my son’s room has dark green walls which make it darker than King Tut’s tomb.
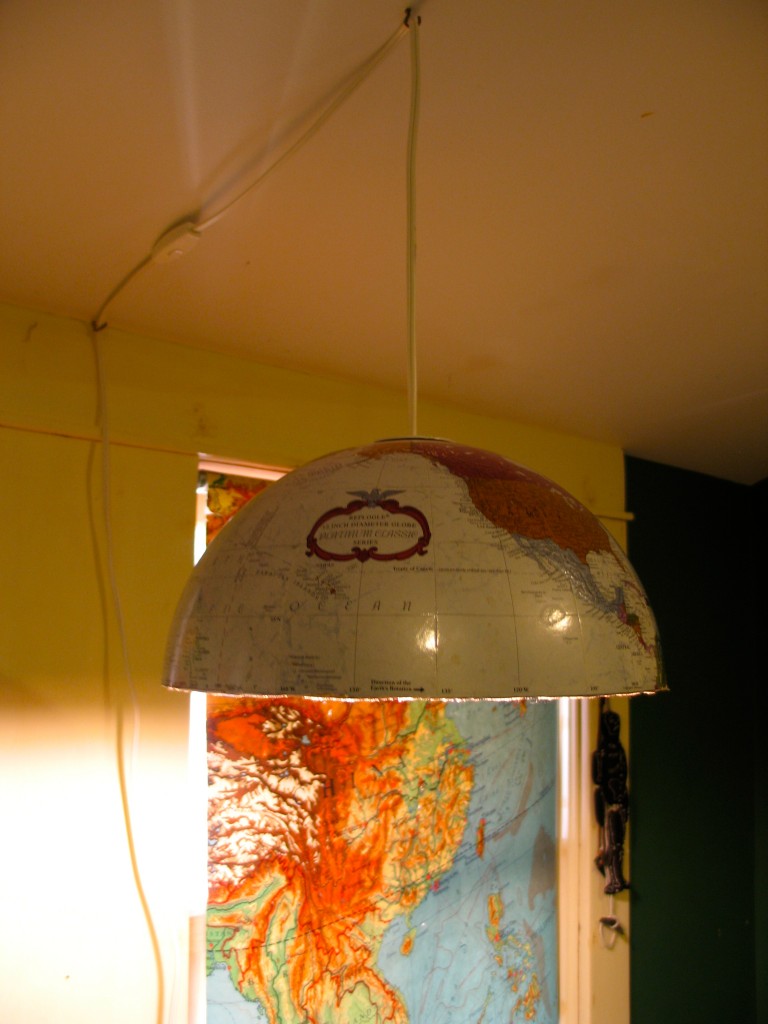
Globe light — Installed. See how the on-off switch is on the ceiling? That’s what called “poor planning.” Luckily, this room has a low slopey ceiling, so it’s still reachable.
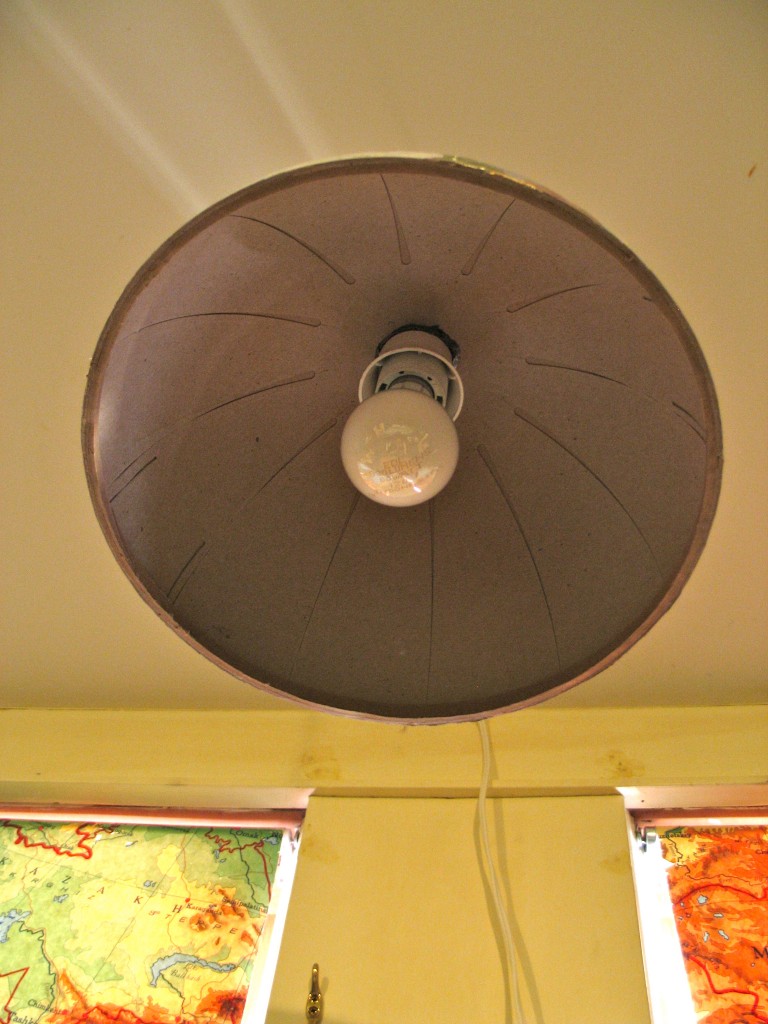
This is the underside of the globe light. It currently sports a 60 watt bulb, but I plan on buying a less-harsh 40 watt bulb to replace it. The fixture is firmly in place, so there’s no possibility of the bulb touching the cardboard.
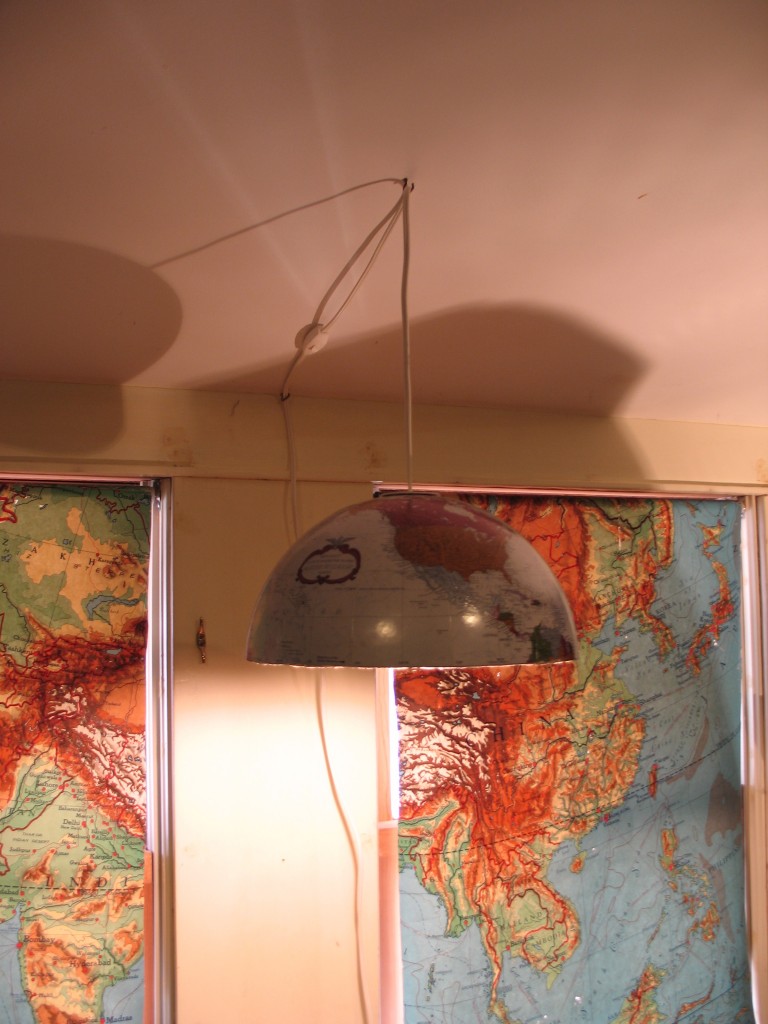
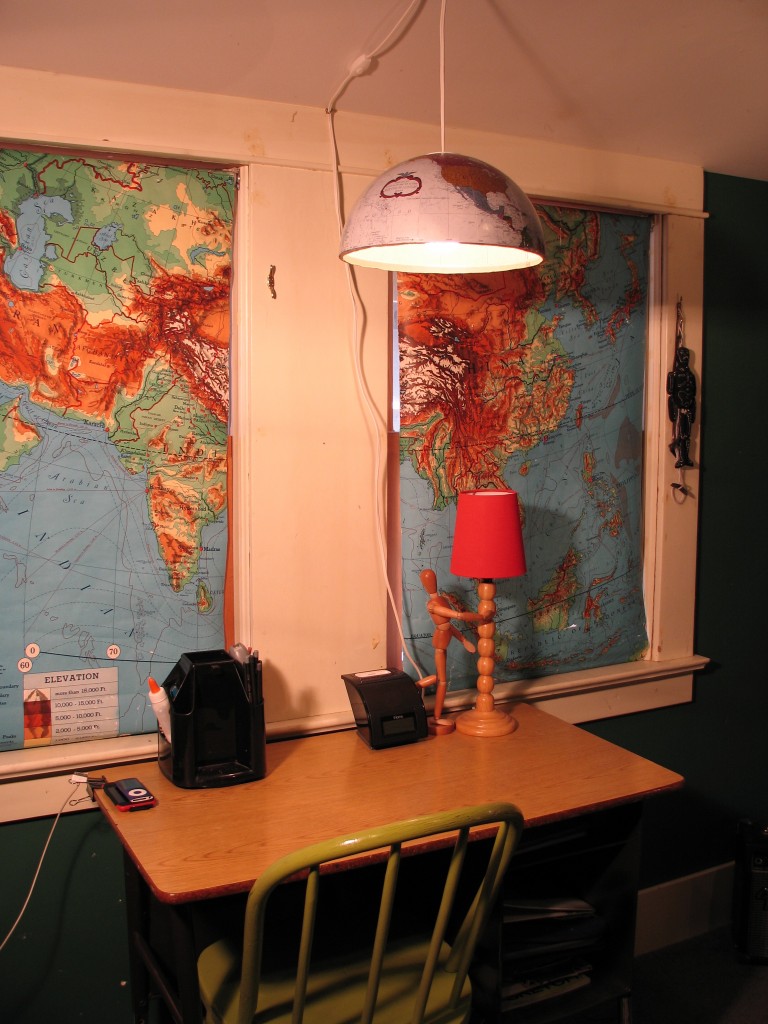
Here’s one last gratuitous shot of the globe light. I *really* like how it pairs with the map blinds!
Total cost for my globe light? $2.50!
This project was extremely easy, as it required no significant skills, nor did it demand breaking out the power tools. And for those of you who wonder if perhaps my son’s room is getting a bit too map-themey, I agree. However, I do plan on sewing up a couple of map fabric pillow cases as a last hurrah. Then I’ll be done. Probably.
And of course, I will make a second fixture for my older son’s room, as each globe provides for two!
Katy Wolk-Stanley
“Use it up, wear it out, make it do or do without”
Click HERE to follow The Non-Consumer Advocate on Twitter.
Click HERE to join The Non-Consumer Advocate Facebook group.
Click HERE to follow The Non-Consumer Advocate on Pinterest.


{ 25 comments… read them below or add one }
Aaah! So clever, love this! Gotta try it with globes that won’t sell.
It was very fun and easy! And I think it turned out super cute!
Katy
Very cute!
So how does a $1 IKEA cord and a $2.99 globe add up to a $2.50 light fixture?
I used half the $2.99 globe, 😉
Creative math is the best kind of math!
Katy
I expect creative math shenanigans from some, but not you!
(said in a light, jokey tone)
Or you could shellac the inside, flip it over and create a popcorn bowl. So many options when you think outside the box. Or should I say globe?
I love it!
“Think outside the globe.”
However, my older son asked for one as well. However, I’m sure I’ll start to see globes during garage sale season.
Katy
Have a small suggestion for the turning on and off of the new globe lamp. It worked for us, may or may not for you. We purchased a remote controlled outlet. Basically, you plug in the base to a wall outlet, then plug your lamp (or Christmas tree, or whatever) into the base. Turn on the lamp, then use the remote control from then on to turn it on or off. We use this for a lamp on our screened porch, as there is only one outlet, and I wanted the lamp over by our chairs, so I plugged the remote in, then an extension cord, then my lamp. We keep the remote inside on a dresser, and for night times on the porch, click and the light is on. It was $5.99 at Big Lots for the unit.
That’s pretty cool! However, it’s more to lose/break/buy. So we’ll just keeping standing on our tippy-toes to turn the light on and off.
Thanks for the idea though, keep ’em coming.
Katy
Cool!
What if you painted the inside of it black with some constellations in silver or glow-in-the-dark paint?
Or maybe just silver… that would reflect the light better! I guess there’s a reason that lampshades aren’t black on the inside! Duh. : ) Maybe you have some of that silver spraypaint left?
I thought about that, but it would be difficult to spray paint the inside without it getting on the outside.
Katy
I’ve never tried spraypainting anything, but I can see how it would be pretty messy to work with, esp. with a tricky surface like that. I bow to your spray paint experience!
Hmmmm…. cut globe-sized hole in trash bag, use blue painter’s tape to tape trash bag around equator?
Very cool! Good job!
A florescent bulb would be even safer near the cardboard. I love my old out of date (U.S.S.R!) globe too much to cut it up, but if I ever see one in a thrift store I’m going to do this too!
So great Katy! I love it that you can wait to find what you are looking for…it does take patience doesn’t it. Such an important virtue 🙂
Either that or laziness.
Katy
I recently was in the middle of a lamp-making project and
realized that I really wanted some sort of translucent, easy to cut
plastic to cover the base and diffuse the light. After some thinking
I bought a pack of those flexible cutting mats, cut a large circle and
stuck it in the bottom of the lamp. Works perfectly and now I don’t
wince from the glare.
But how do you get access for changing a light bulb?
Katy
Excellent question. My lamp had a sort of rim around the inside and the mat was flexible enough to just slip inside that rim and rest on it and when I needed to take it out, I slipped a butter knife between the rim and the plastic and it popped right out. If it didn’t have that rim, I would probably have made one by gluing a length of cord around the inside.
AWESOME!!!!
I can’t wait to see the pillow cases.
I don’t know how hot it might get, but I’d consider cutting a few small ventilating holes near the top, to help prevent overheating the cardboard. Maybe some sort of fire-retardant spray? Yah, 40-watt would be less hot, I would think. But it LOOKS terrific!
Cool! Now, I want one! I nevr see globes at yard sales. Oh, I do occassionally, but the people want a small fortune.
Great project!! Looks great!
It’s outta this world! Ha ha, pardon my pun. Seriously though, you did an awesome job Katy!
Thanks. I am rather partial to DIY jobs that requite nothing more than a spritz or two of spray paint.
Katy