Before and After -- My Painted Campaign Dresser
Although I completed this campaign dresser project last summer, I somehow hadn't posted about it yet. Why? Because I felt the after photo needed to be super cute and styled, like a real decor blogger would do. Except that the reason I bought this sturdy behemoth of a dresser in the first place was because we needed a place to put our 165-pound bedroom TV. Yes, it's a flat screen, yes it's high definition, but it sure as hell isn't lightweight. But guess what? It was free, so I have nothing to complain about!
The TV had been on a rolling metro shelving unit that my husband hobbled together, but I was always crashing into it in the darkness of night. (My husband was working a 3 A.M. to 3 P.M. shift and consequently went to bed hours and hours before me.) I hated it. I wanted a low sturdy dresser to put the apparently hostile TV on once and for all!
So when I came across this $19.99 Goodwill dresser, my DIY crafty self kicked into gear. It wasn't much to look at, but I'd come across some cute painted campaign dressers on the internet, but I just could't get over the hideous wood finish.
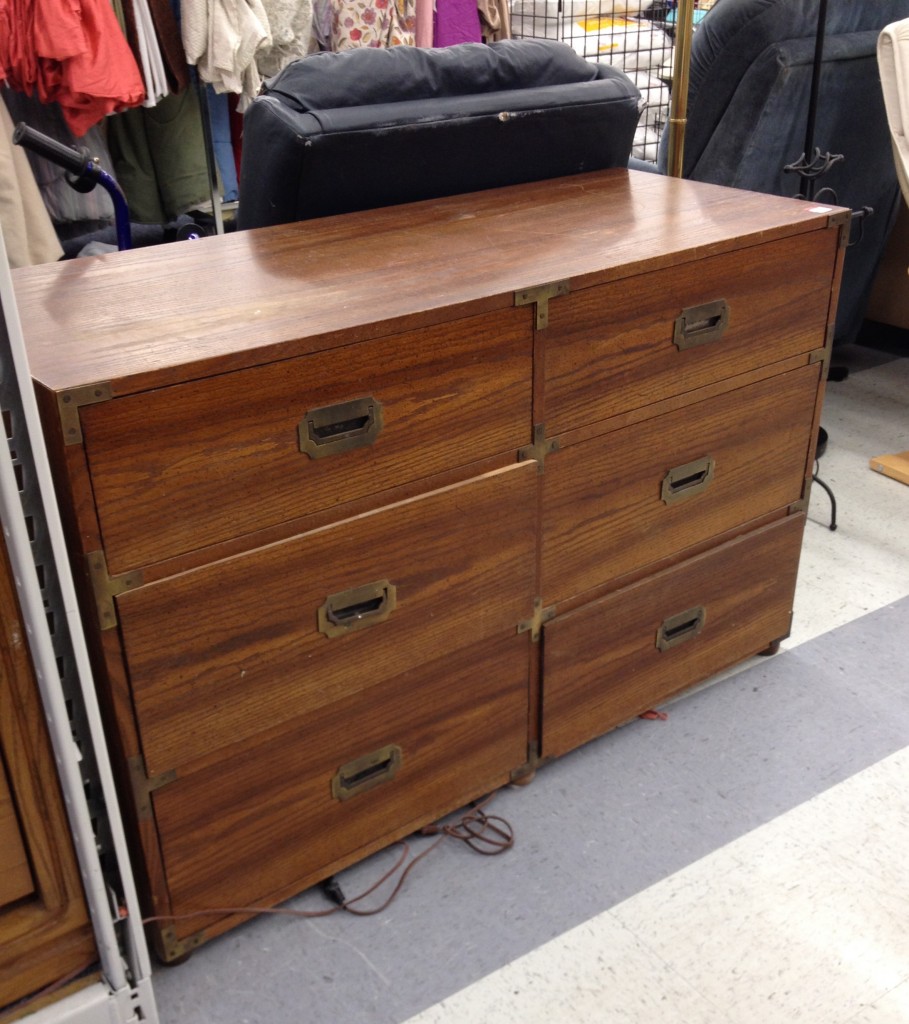
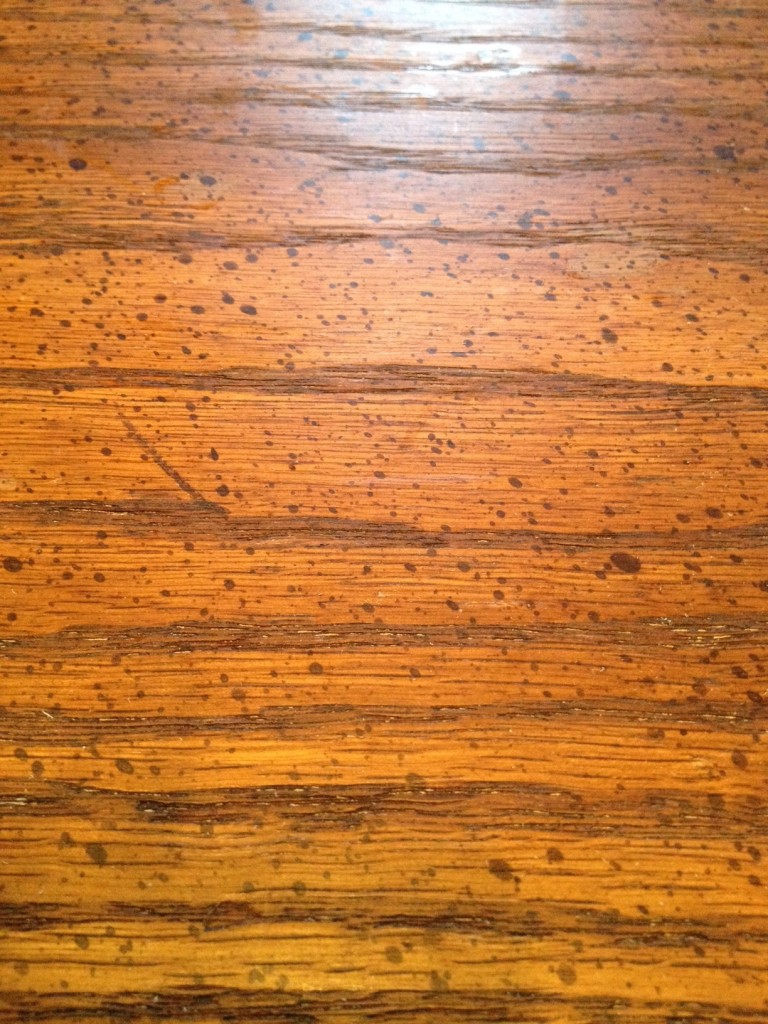
Check out the tacky splatter finish and raised grain. The dresser was proudly marked as being manufactured in 1973, and it showed.
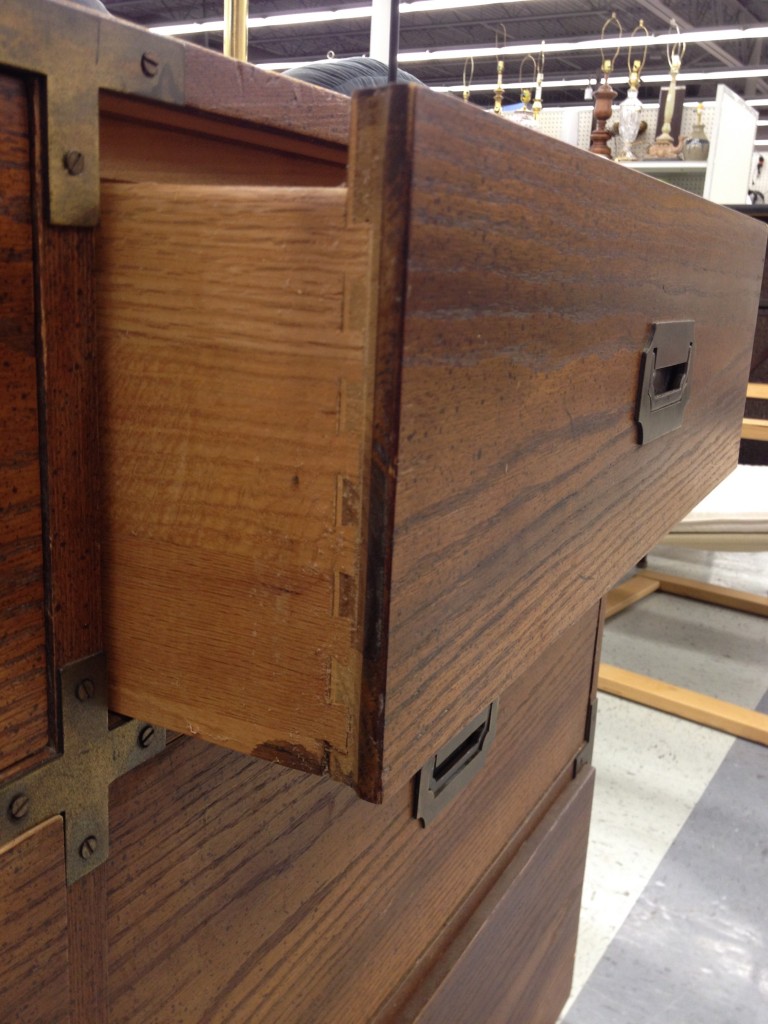
The dresser had nice tight dovetail drawers and an extremely sturdy frame, but was unapologetically outdated. However, it was a quality piece of furniture, so I took my photos and went home to mull it over.
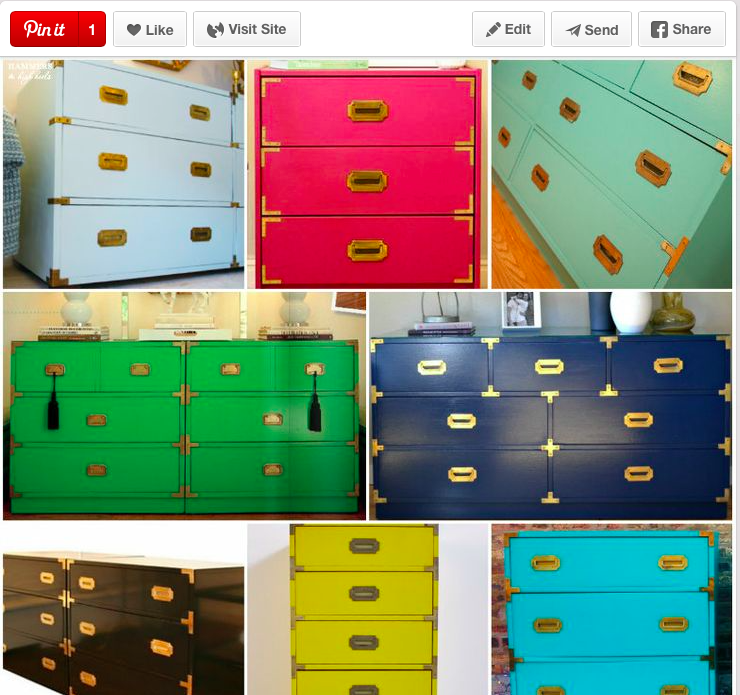
I did an internet search for "painted campaign dressers" and fell into a deep well of love and beauty. So adorable, so cheerful, so . . . dare I say it?
On trend.
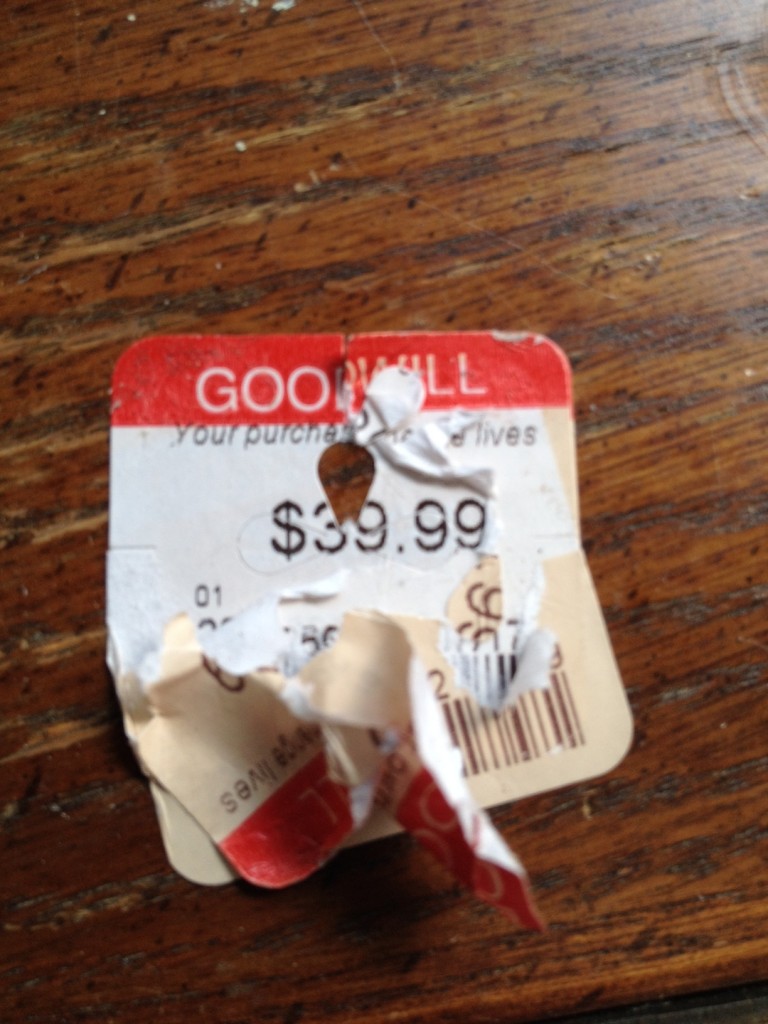
So I drove back to Goodwill and popped that bad boy into the back of my minivan. And when I got it home I discovered a stack of price tags all the way up to $39.99.
Katy likes a bargain.
I also found this medallion for "Hickory Manufacturing, since 1911" in one of the drawers, which I thought was very charming.

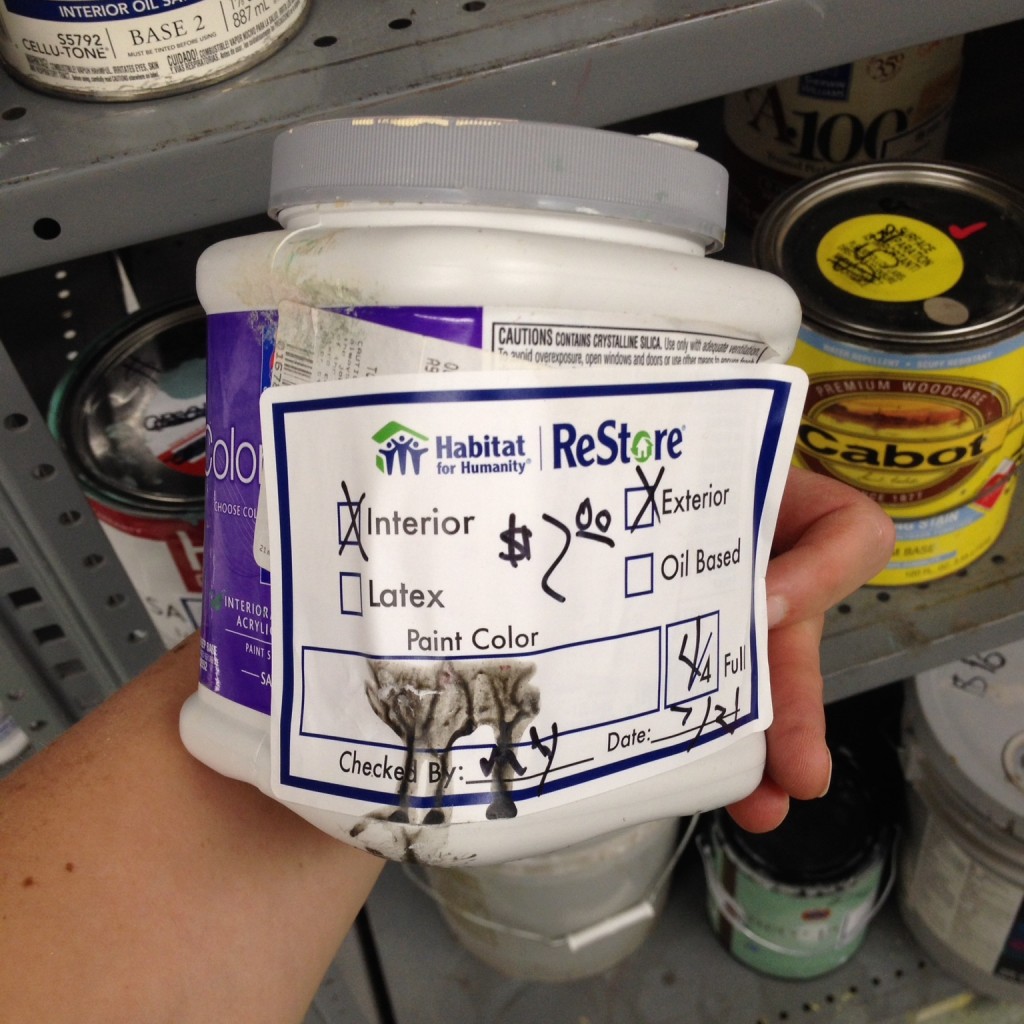
I already have a fair amount of color in my bedroom, so I decided to paint it a neutral color, and this pot of grey paint hit the spot. I highly recommend the Habitat ReStores as a great place to begin any search for project supplies. Not only was this half-gallon of paint priced at $2, but I was able to put something to use that would otherwise have been wasted.
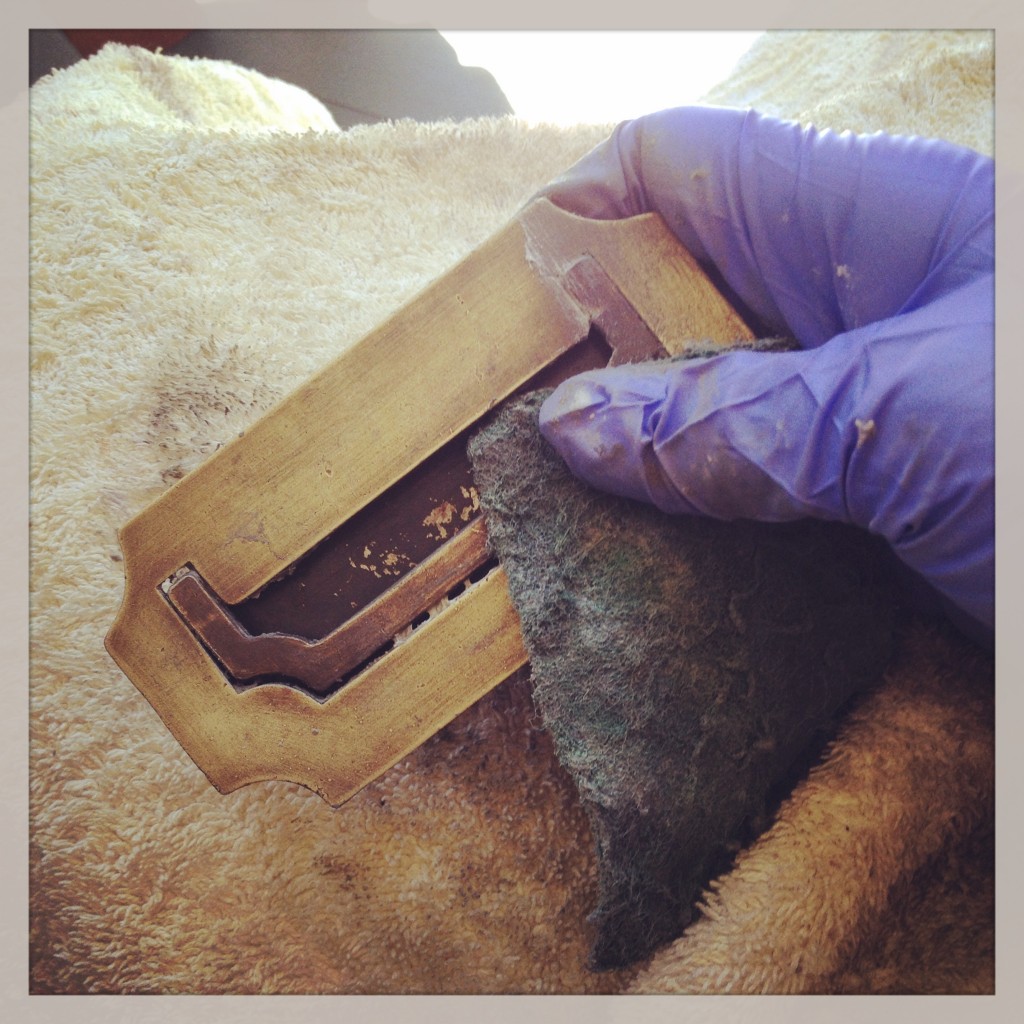
Of course, the fun part of this project was shining up the brasswork. I could have made things easy for myself and bought brass polisher, but I wanted to try what I already had on hand. Like catsup and toothpaste. It took a lot of elbow grease, but it was still an enjoyable job. One thing I messed up on was soaking it overnight in the catsup. This was a problem because although some parts were solid brass, the dangly-handle bit turned out to just be brass plated. Not a terrible mistake, but still not my shining moment.
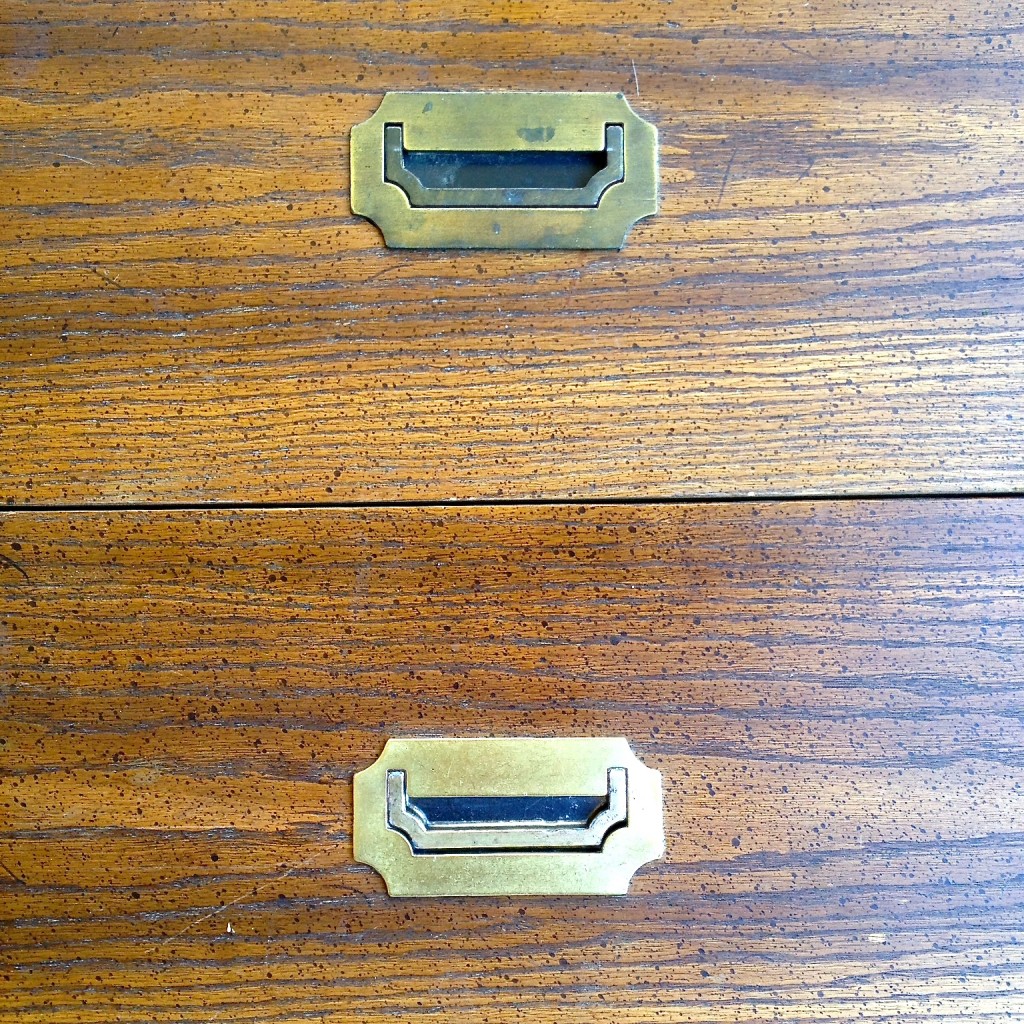
Look at what a difference shiny brass makes!
Since this project was done during the summer, it was no big deal to set up in the backyard and sand the wood down to a buttery smoothness. Apparently I even used some wood caulk for some reason that now escapes me.

In the end I painted on one coat of primer plus two coats of paint. I then asked on my neighborhood Facebook page if anyone had any polyurethane collecting dust in their basement, and my next door neighbor gave me an almost empty can which was exactly enough to complete the project.
I also reglued and sanded down the left-side middle drawer which somehow didn't fit right.
So pretty, right?
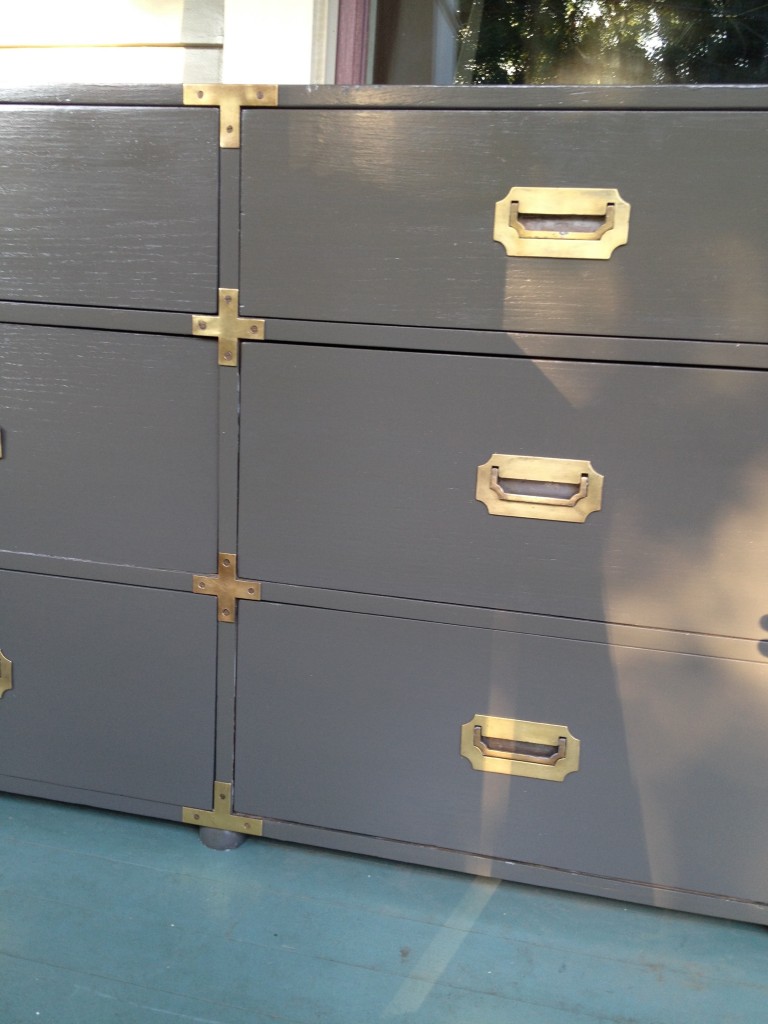
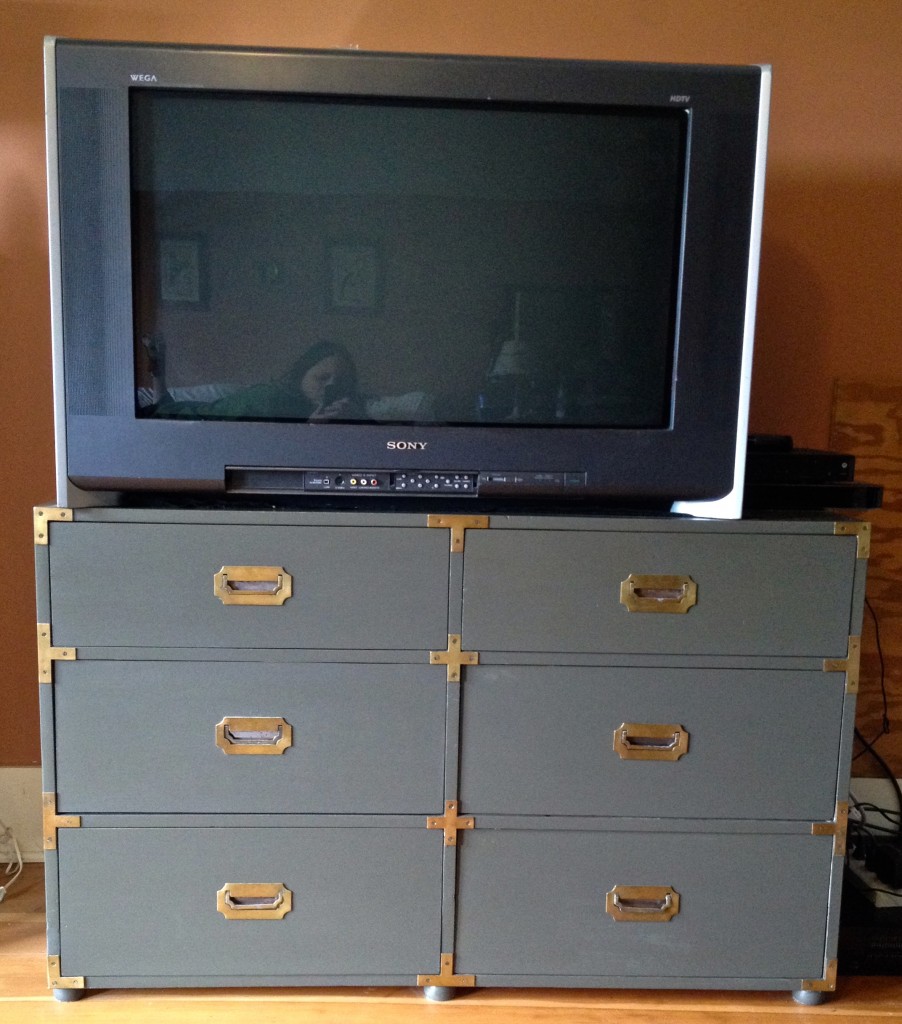
And here it is holding our gargantuan television set, which serves to broadcast high-kicking-low-scoring soccer games to my husband, and crap-TV to a certain someone who likes a little distraction while folding laundry. (Plus of course, an accidental selfie.)
And here it is with the honking huge TV cropped out of the photo:
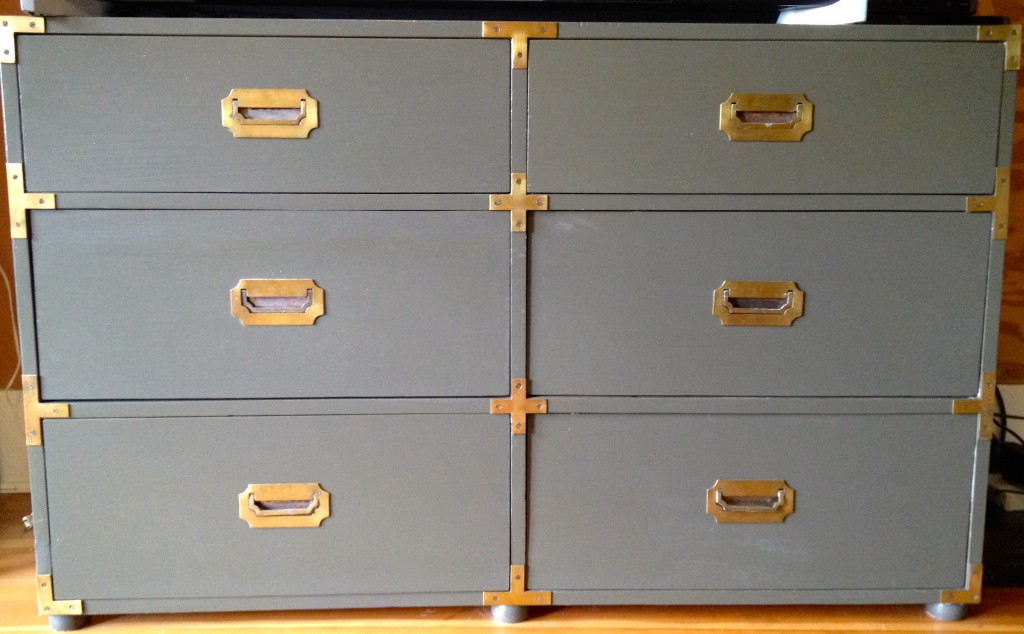
My plan had been to style it with attractive doo-dads for a blog-worthy photo op, but my husband was so pleased with the finished project that he set the TV on it before I got my tuchus in gear. Oh well . . .
The total cost for this project was $22. Yes it took some work, but all of it was enjoyable, and I'd rather spend my time bringing something back to life than most anything else in the world.
And now I can maneuver throughout my bedroom without fear of injury, day or night! Which is really all that matters.
Katy Wolk-Stanley
"Use it up, wear it out, make it do or do without."


A really wonderful piece of furniture. Nicely done! And an inspiration to look beyond what is the what can be...
Thank you. I've been really happy with the result.
Very nice, Katie.
And you have yourself a vintage piece straight from near my neck of the woods -- Hickory, NC., which, even with off-shoring, is still a furniture-making mecca in the good old USA.
Beautiful! I just don't have the patience. I look at my heavy dark pine bedroom set and would love, love, love to paint it, but there are so many little carvings, that it would take forever to just sand it down. I know the feeling of accomplishment is huge when undertaking a project, but when you first think about it, it's daunting to say the least.
Congrats! It is perfect! (Oh and yeah for the husband that moved the TV into place when it was done!)
Maureen, for all the carved fiddly-bits, consider spray paint. The secret is that you don't have to spray paint the entire piece. Just spray the annoying parts, let it dry for however long the directions on the can say to wait before applying another coat, and have at it with your brush and big paint can on the other parts -- maybe lightly brushing over the carved parts to blend in any slight color variation.
Good job and great frugal find! Count me as one who also doesn't have the patience... I am guilty of having many pieces of thrift store furniture in my house with most of them still sporting the finish that was theirs when I bought them... I did spray paint a couple of shelves and I'll be trying to use some of the Ace Hardware paint samples that I scored for free this past month to refinish a desk that I got from a thrift store for about $10, 12 or 13 years ago. But I might just skip the stripping/sanding phase altogether.
I am always impressed how you can look at something (like this dresser) and see much more. You are a wonder.
You did a fabulous job! I love it!
Great job, Katy! Woohoo!
I've had a number of those speckled pieces too. Yuck. It's sort of hard to believe that really was in style at a point in time.
Puts the "ug" in U-G-L-Y!
Love it! Gray is one of my favorite colors and it looks fab on your dresser.
I love furniture makeovers and this one is top notch!
It looks awesome!
I have been ogling campaign pieces for awhile online and although I love love love them...I don't have a need and I think it would look a tad too modern to mix with my other furniture. So, I just lust over great look pieces online. Thanks for the eye candy!
Lovely! Thanks for sharing. I appreciate the "real life" after with the TV.
My favorite part may be using up the last bit of a neighbor's polyurethane! Community Sharing and Use It Up 🙂
I've never done anything like this so I'm curious -- do you paint the sides of the drawers as well or does that limit their "slideability" and/or is unnecessary extra work?
I love painted furniture and my husband doesn't. The thrifted furniture in our kids' former rooms is painted (by me), but the furniture in our room isn't. I guess that's the compromise we worked out. Love the chest, and love gray, so a double love, there.
My best furniture painting success was when my youngest was moving to an apartment for college and wanted to leave her bedroom furniture at home, since she would be home every weekend (to see her boyfriend, of course, not us. :)) We went to a consignment store and found a dresser, non-matching framed dresser mirror, and wooden cabinet type of old TV stand in their bargain basement room. The boxy, huge 9-drawer dresser was the worst of the 60's, with fake drift wood finish on solid wood construction and "modern" handles that were in horrible shape. The mirror's frame had a scuffed pecan finish, and the TV cabinet was deep dark-stained pine. We got all three pieces for about $100 and my husband almost refused to bring them home, they were so ugly. My daughter and I sanded them, painted them all soft blue gray, replaced all the handles. When we delivered them to her college apartment, her roommates said that it was the coolest furniture ever, so cute and so retro! That same furniture is in use right now, years later, in my granddaughter's room.
Love the dresser! It looks lovely painted. I like the different approaches people have taken. Good on you for seeing the potential and doing the work. I still need to finish a few pieces in my room that I started 12 months ago. . . Still, they are better overall than when I started and they cheer me up, even half done.
I think the dresser would look lovely anywhere in the house with a bunch of flowers on top! Very practical too!
Well done! I have my own upcycling project underway, and if it EVER stops raining, I may actually make some headway on it. So far, I have only been able to post the sad "before" photos, and some "look, I cut the wood!" photos on my blog.
We are soon going to be selling the campaign desk, hutch and smaller dresser that was in my parent's house for over forty years. It's white, has been well used and is in need of lots of TLC. I hope whoever buys it gives it the same kind of love that you have, Katy. We're sad to be selling off the contents of their house, but hope that the new owners of their things will apreciate them as much as you do yours. Somehow this article really makes me feel better about the sad but necessary process.
This is such an amazing transformation! This piece is incredible and you did an awesome job.
Thank you!
Katy! Greetings from PA! I have a tall 5-drawer dresser and a short 3 drawer dresser that are an exact match to your piece! They were a gift from my husband for Christmas - purchased at one of our favorite second hand stores. I don' t mind their "retro" look, but it's great to know how they'll look refinished, should I ever get the bug! Thank you for a great blog!
I love it!! I have a dresser and night stand I got for free waiting in my garage. I can't wait to see how they turn out. I love grey so I may have to find some at the re-store. Thanks for the inspiration.